Full Scrappy
Wow, you had so many great border ideas for my miniature cross roads blocks! Energized by your suggestions, I got right to work finishing it up. Today I put the last stitches in this scrapalicious quilt top!
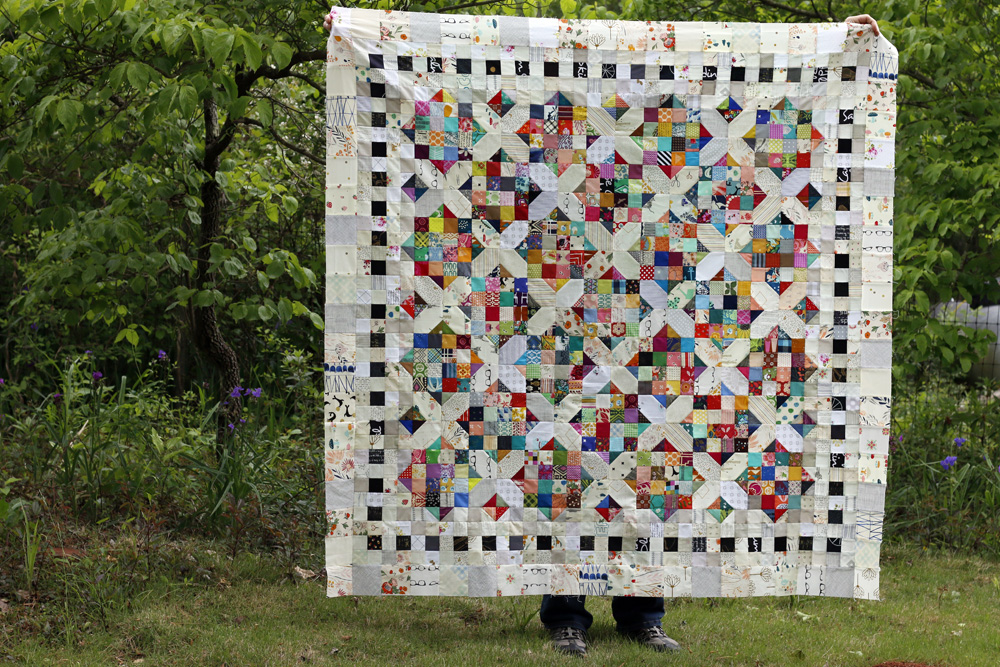
What do you think? I’m pretty happy with it. I feel it extends the quilt without taking too much attention from the center. Because the border includes so many scrappy low-volumes, just as the patchwork center, it feels very cohesive overall.

I loved your border suggestions for piano keys, flying geese, half square triangles, even putting the whole quilt center on point. So cool! All great ideas, but what caught my imagination was using a black and low volume grid to frame the center patchwork. Even though I had used up all of my colored crumbs for the center blocks, I had lots and lots of low volume crumbs left and some black ones too. The black/low volume frame was a great way to put those scraps to use.
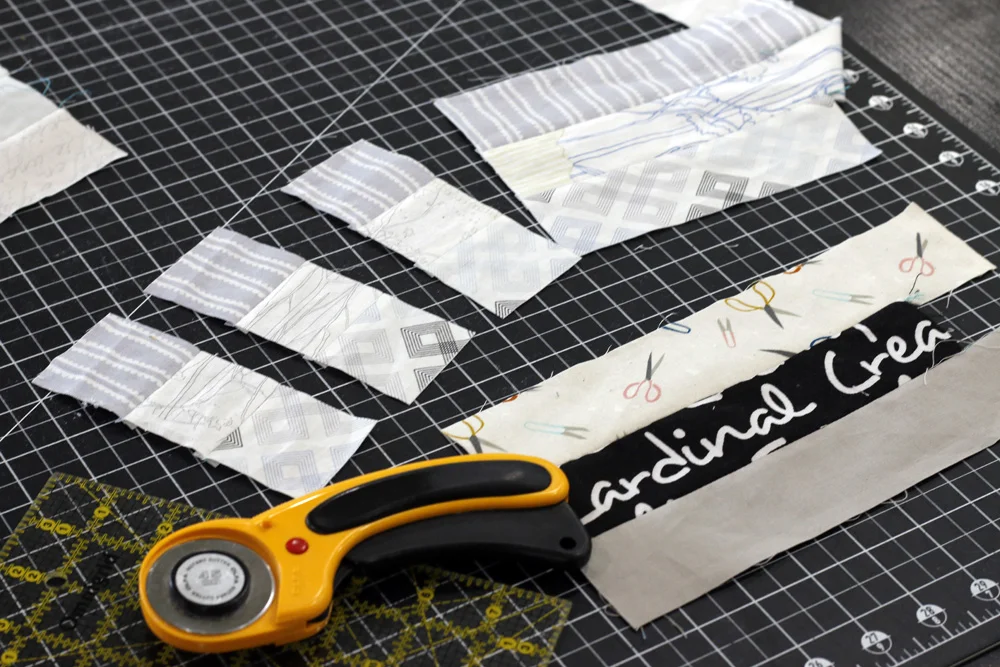
After I’d eaten up all those crumbs, I strip-pieced string scraps to complete the black/low-volume grid border. With strip piecing, I sewed trios of long 2” string scraps together, then I cut them into 2” wide, already-pieced units. That made quick work of the border piecework.
The last border of larger low volume squares brings the quilt top to 60” square without any fuss.

Cutting Recipe
Wanting to make your own? Visit Lori Holt’s blog for the Scrappy Cross Roads Block tutorial. My blocks are smaller scale, so cut accordingly:
2” scrappy squares for cross roads blocks
3.5” background squares for cross roads blocks
2.5” squares for half square triangles at cross road block edges
2” black and low volume squares for grid border
3.5” low volume squares for final border
Thanks for your help with this one!