small space Sewing Studio
Welcome to my new Dutch sewing studio! Would you like to see how I’m using this significantly smaller space? My attic room is about 14 x 16 feet with slanted ceilings and inset walls. Not the easiest canvas! With creativity I managed to squeeze everything into the room (even the longarm!) and make it function. I hope you enjoy this sewing room tour and maybe even get some fresh ideas for organizing your space, be it large or small.
The Room
When you come up the spiral staircase into the sewing attic, you land in a bit of open floor space between the main elements of the room.
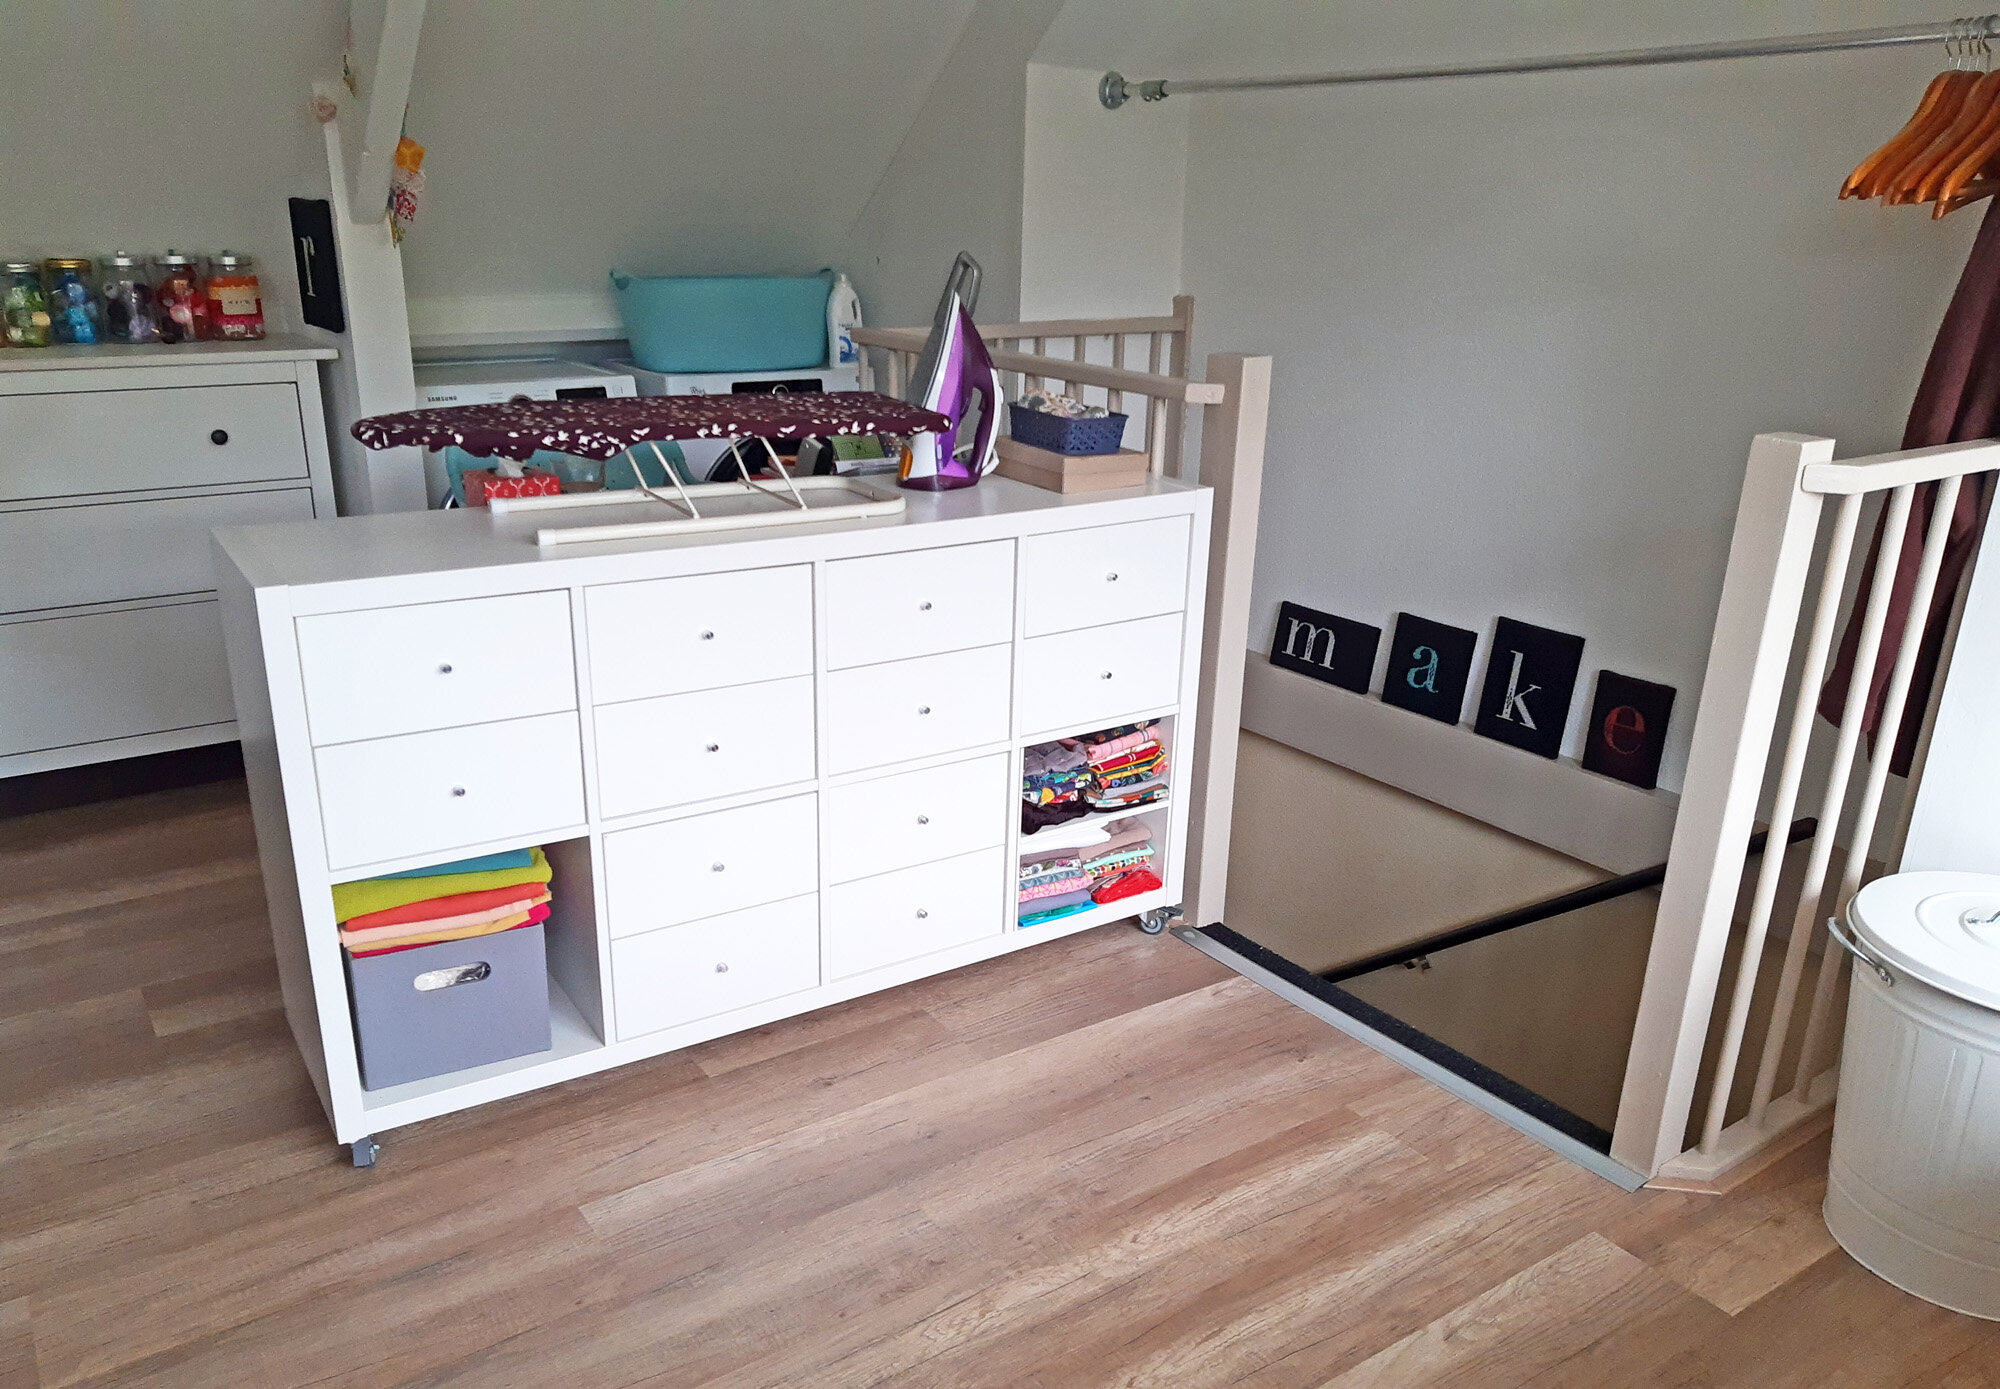
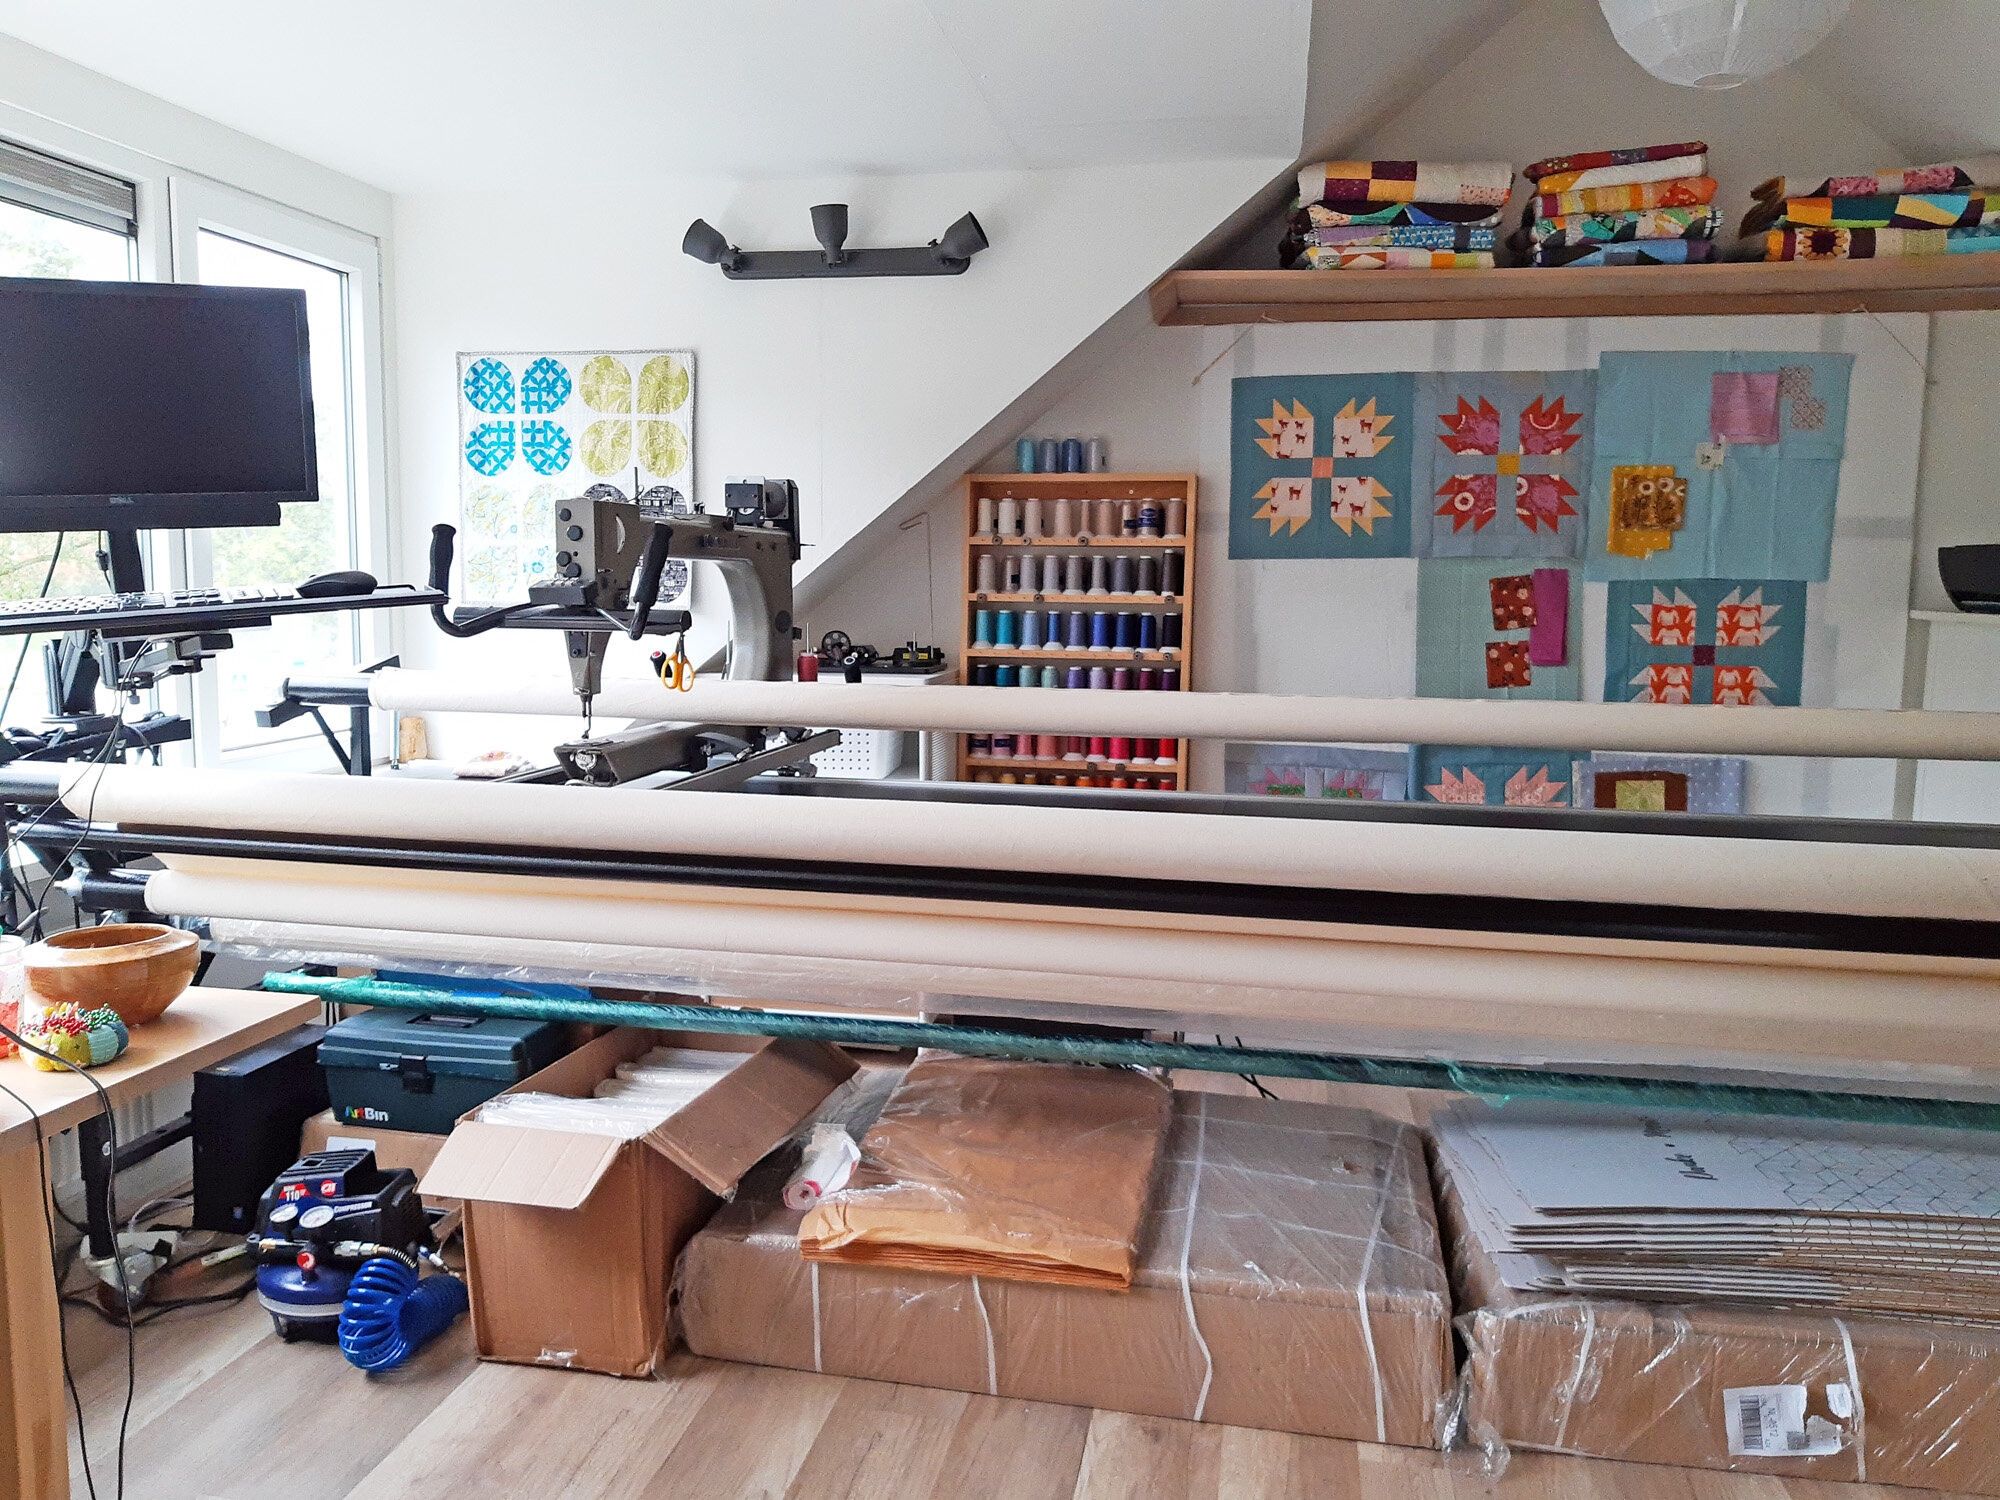
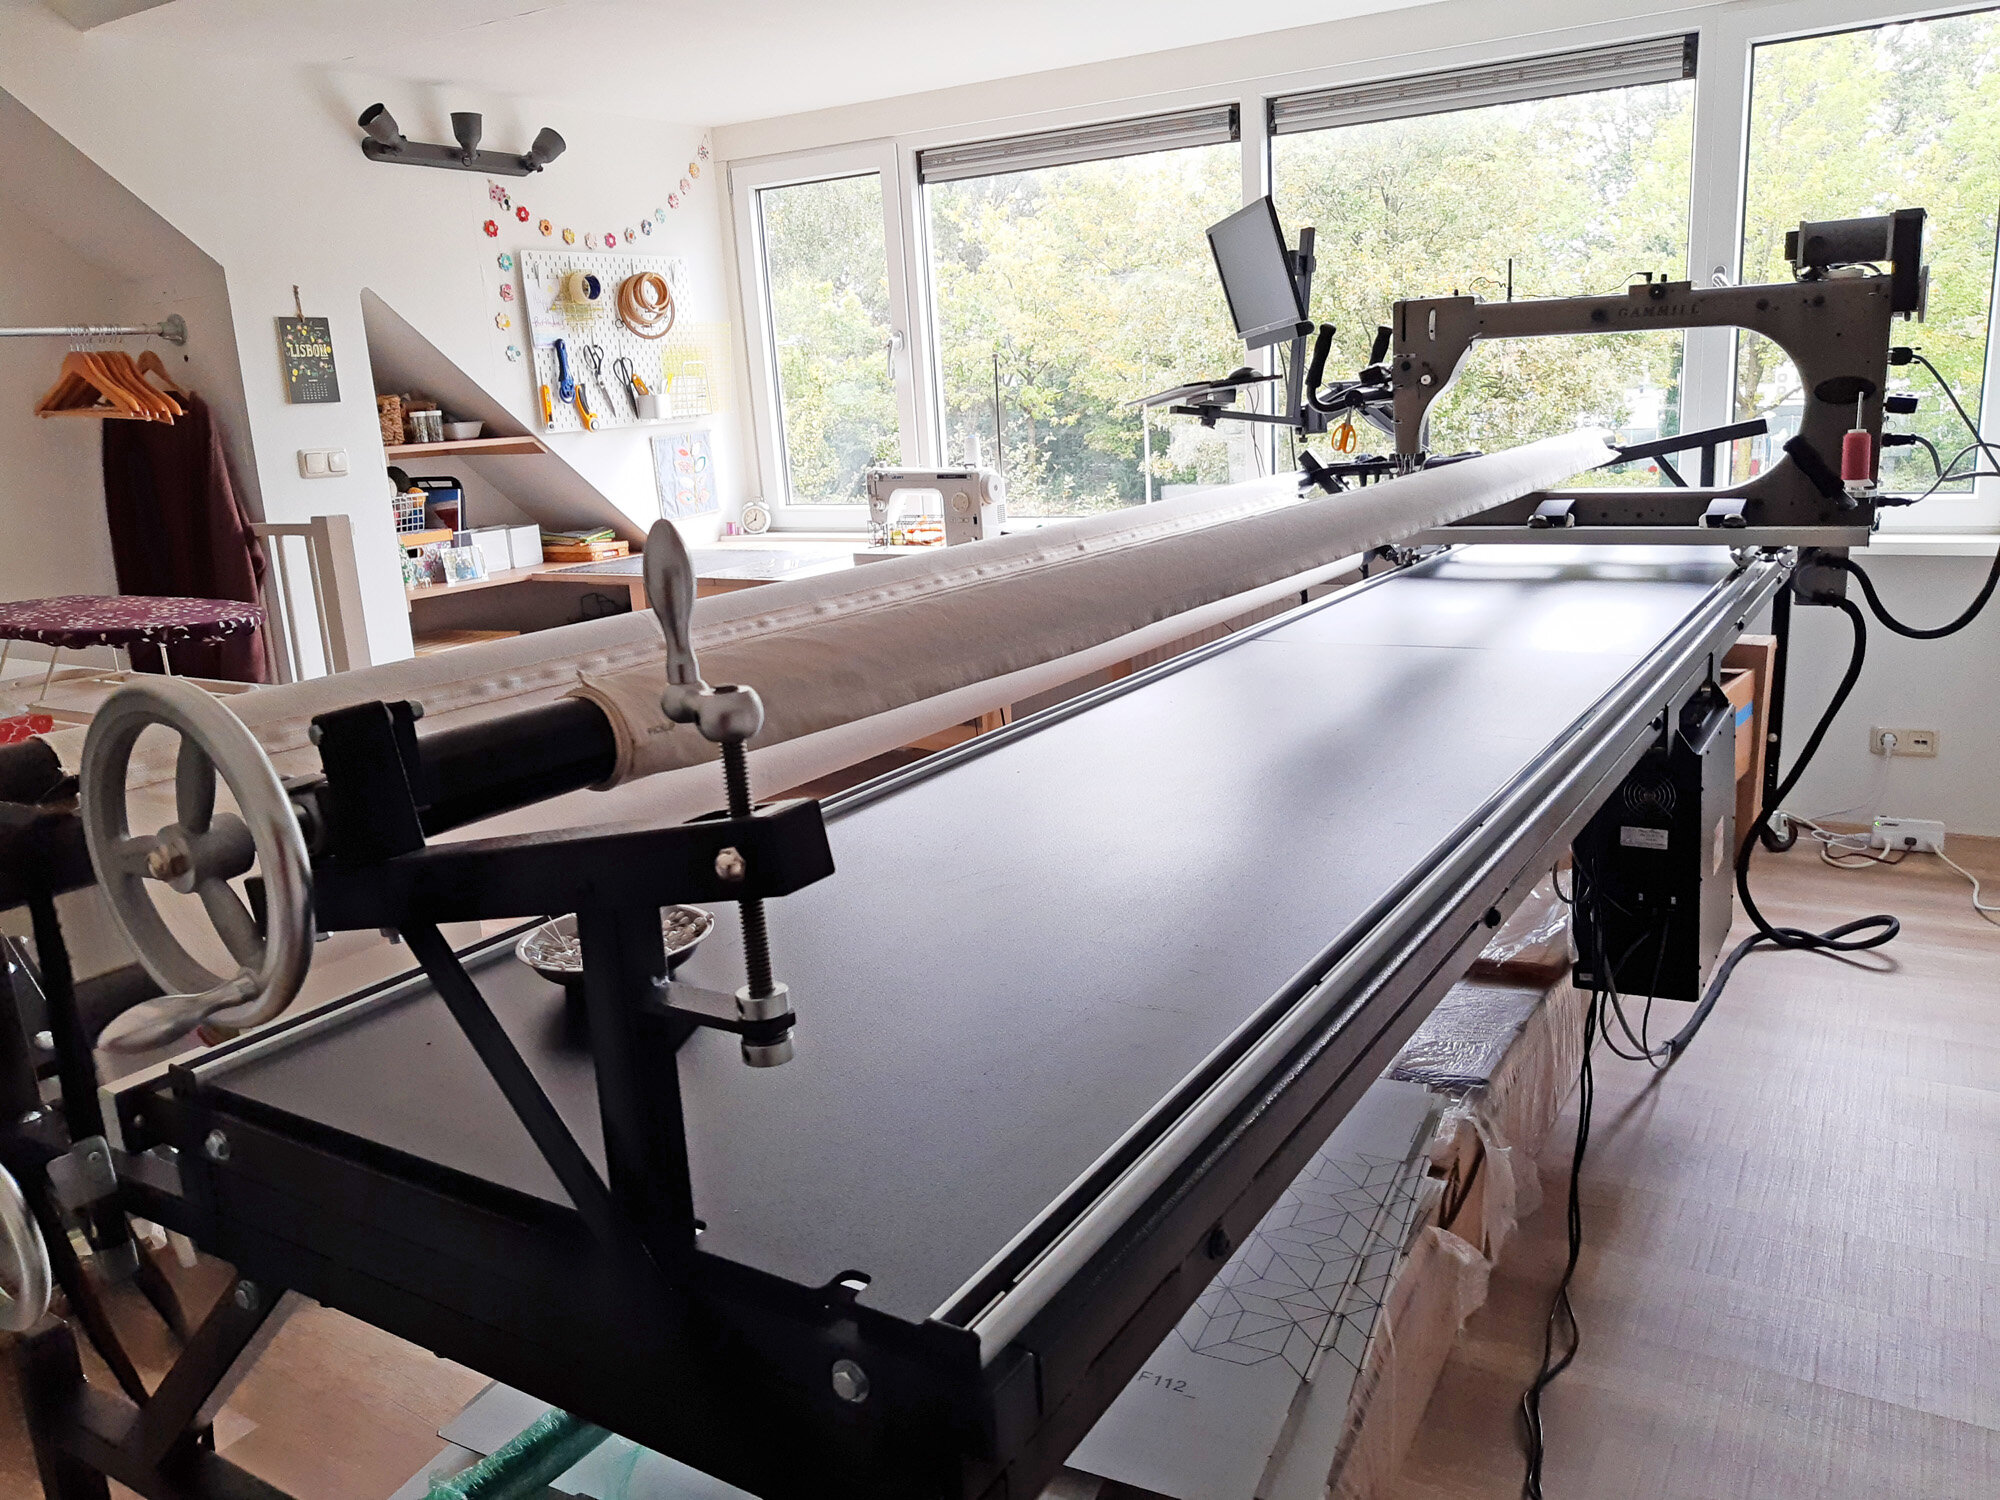
I’ve placed this drawer unit as an extension of the bannister. The drawers face my sewing table, but you probably wouldn’t notice it at first. Instead, your attention would be drawn straight ahead to a massive longarm sewing machine , plunked down near the center of the room, in the only space large enough to accommodate it!
Yikes! That’s a lot of stuff. I wish it wasn’t quite so visually stimulating, but we do what we have to do! At least it’s all mine. Well, sorta. You’ll see there is one caveat, but I’ll get to that later.
Sewing Area
This is my favorite corner of my sewing studio. The large sewing table faces a great big dormer window, which makes up one entire wall of the room. Even on cloudy days, I’m blessed with natural light for my projects and for my process photographs. I gather my projects into baskets to keep my table clear when not in use, so that it feels inviting and restful to enter the room.
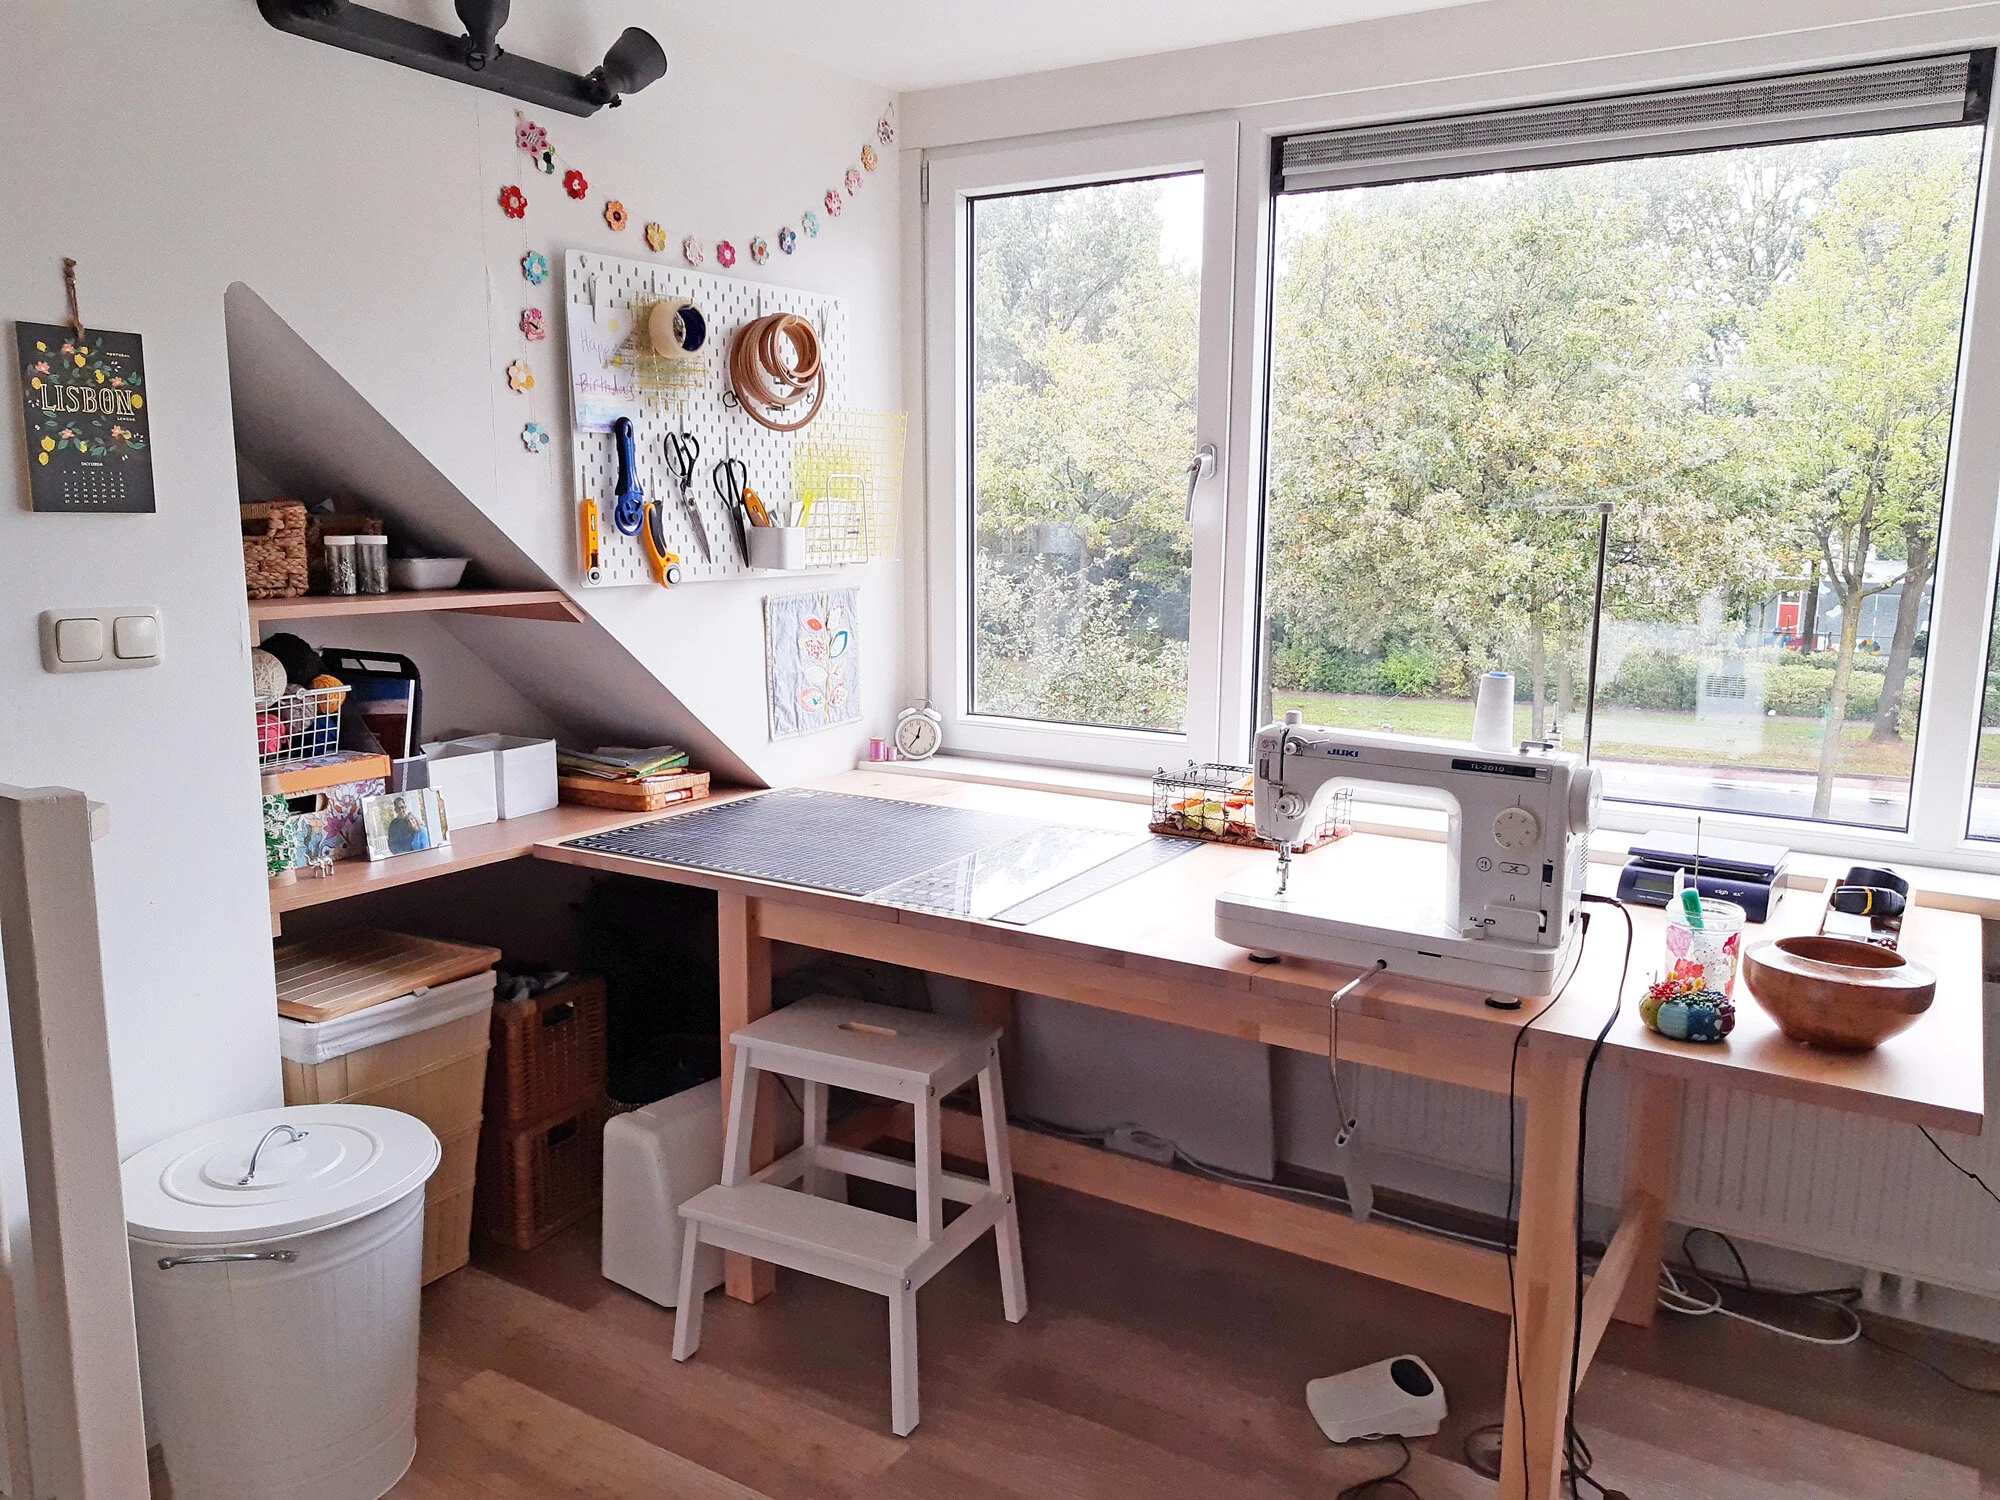
This wall adjacent to the table was an empty cavity when we bought the house. My husband built-in shelves which allow me to use the space better. One shelf is at the height of the table, making the workspace feel larger. I’m keeping small white bins for crumb scraps there on the shelf, to encourage me to clean up as I go.
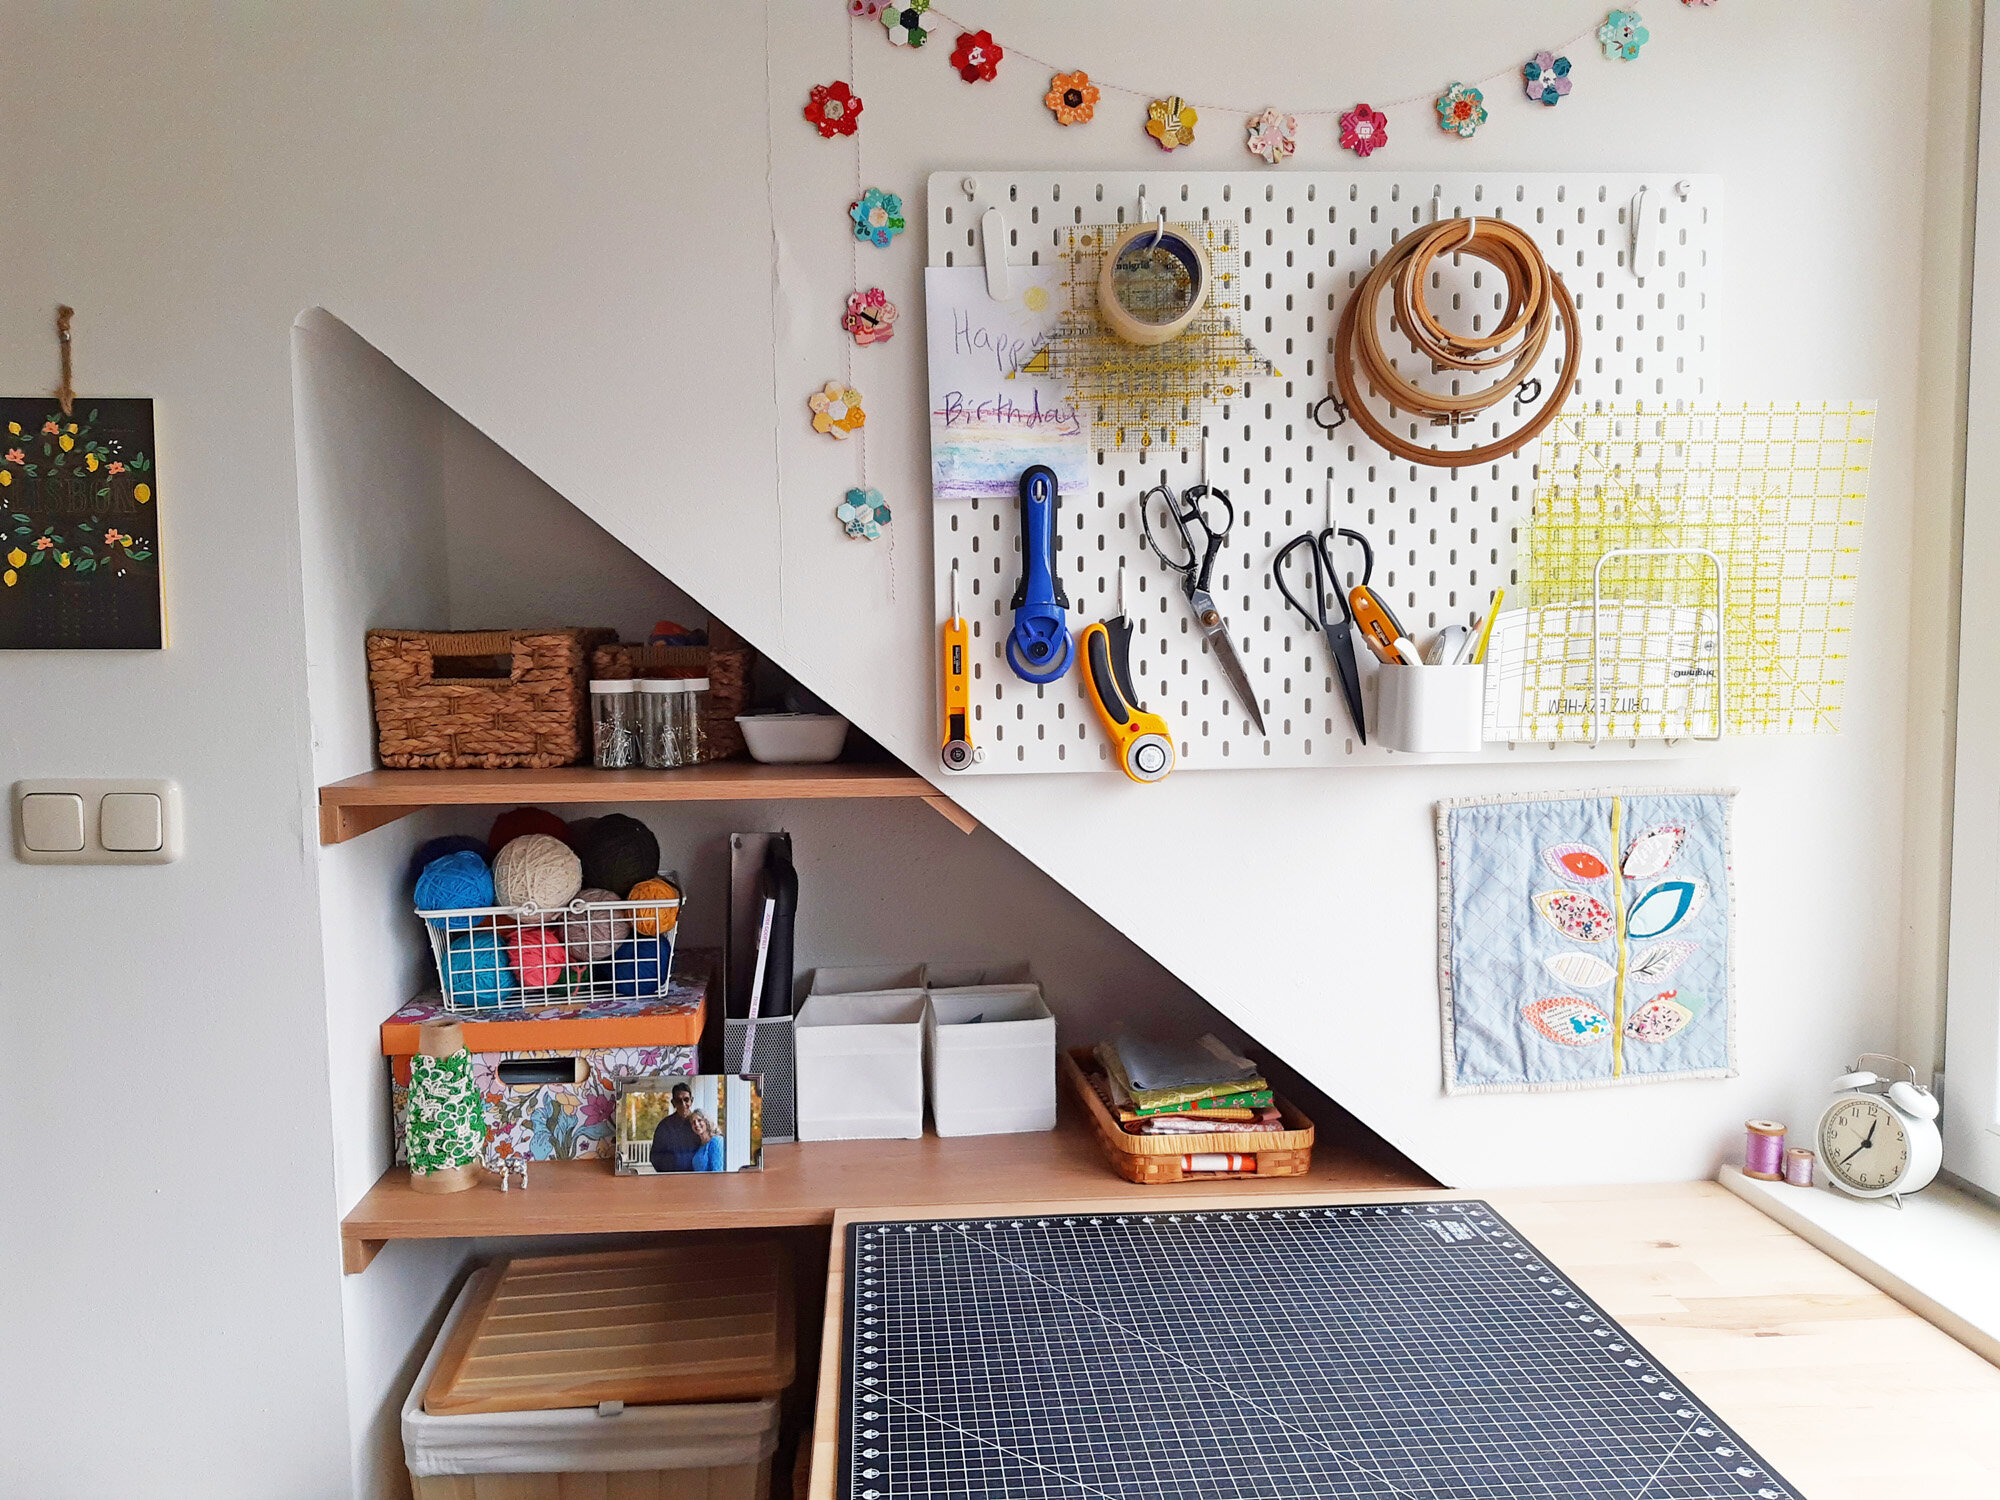
My most frequently used notions and tools are hanging on the peg board or stashed in baskets on the shelves right by my sewing table. Keeping the essentials in reach is a must! I’m absolutely loving the peg board. What a great invention and so affordable too! Mine is from Ikea. All of the peg board hardware I’m using here is also from Ikea. I’m especially pleased with this solution for ruler storage!

Here’s my trusty Juki sewing machine and my tabletop items: pin cushion, thread/fabric trimmings trash bowl and a jar of things I’m constantly using. Farther back on the table are some longarm quilting supplies. My longarm machine is less than a foot to the right of this sewing table, so this works well to keep my longarm essential also at hand.
Practical Corner
Let’s look again at this picture, which shows the area at the top of the staircase. That Kallax drawer unit is opposite my sewing table. It doubles as an ironing station too.
Wondering about that rod over the stairway? We installed it for hanging customer quilts. Clever or desperate? I’ll let you decide.


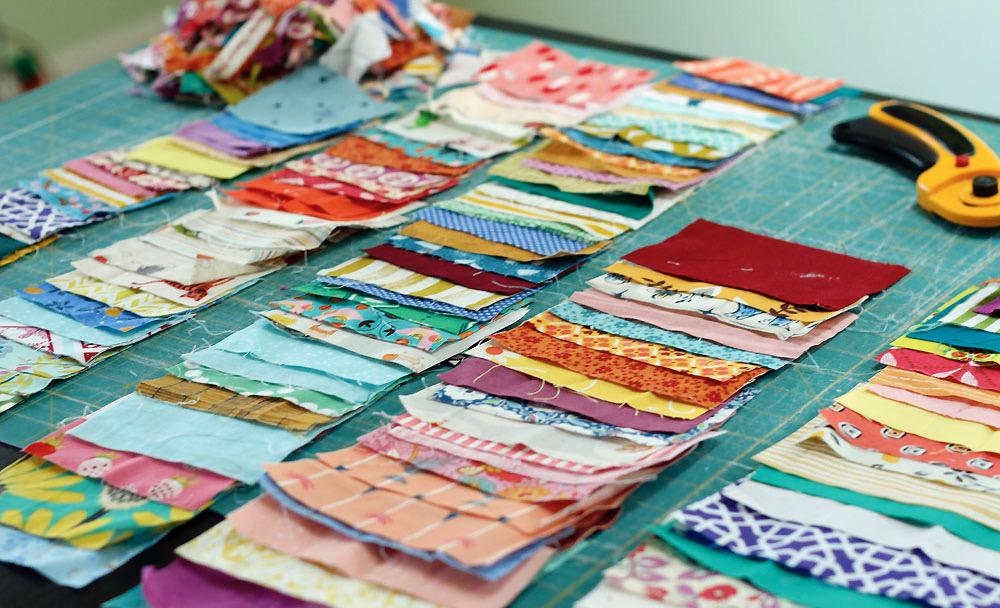
The drawers are packed with scraps, organized by color. Open areas offer storage for non-quilting cottons, which I sequester from my “real” quilting fabric stash.
Just behind the Kallax drawer unit is the most practical nook in the room. I resorted to cramming my computer desk back here in order to create a more open feeling when you come into the room. Ah well, it encourages me to spend less time at the screen and more time sewing!
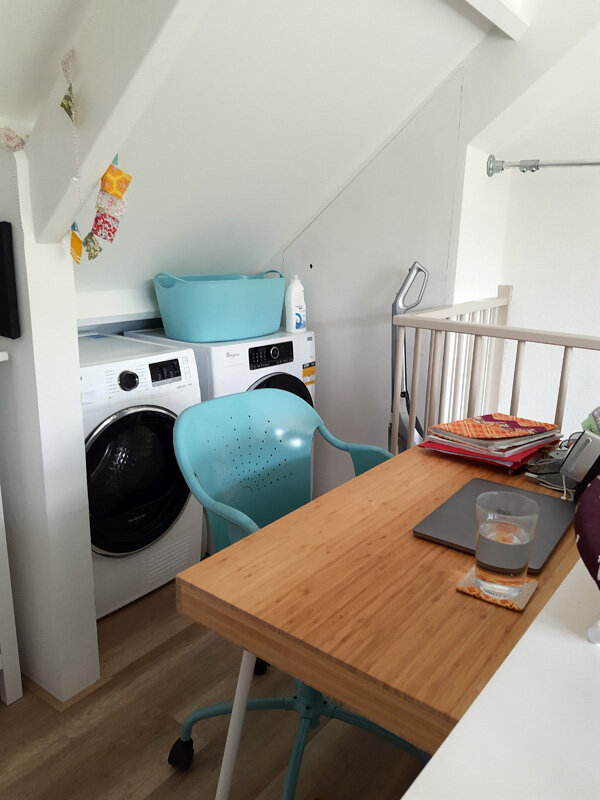
And there is the interloper in my sewing studio - the laundry. That is how it’s done in Europe. They cram a washer and dryer into a corner of an attic or shed, and voila, you’re good to go. It’s funny that in our farmhouse in the United States, my mother-in-law thought I was roughing it because I only had a closet dedicated to the washer/dryer, rather than a full laundry room. Ha!
Storage
Let’s talk about storage. This room has a funny shape with a somewhat peaked ceiling. In a room this size, I have to use every bit of space, so I asked Brandon to add a shelf up there. It’s a simple solution for storing quilts I’ve saved for trunk show purposes. Fortunately, it’s not a spot that ever gets direct sunlight, so they shouldn’t be subject to fading.

You might have noticed that I store quite a bit of stuff under the longarm. It’s not the tidiest look, but it works well. I’m storing my quilting service shipping boxes and other shipping supplies, plus some batting under the machine.
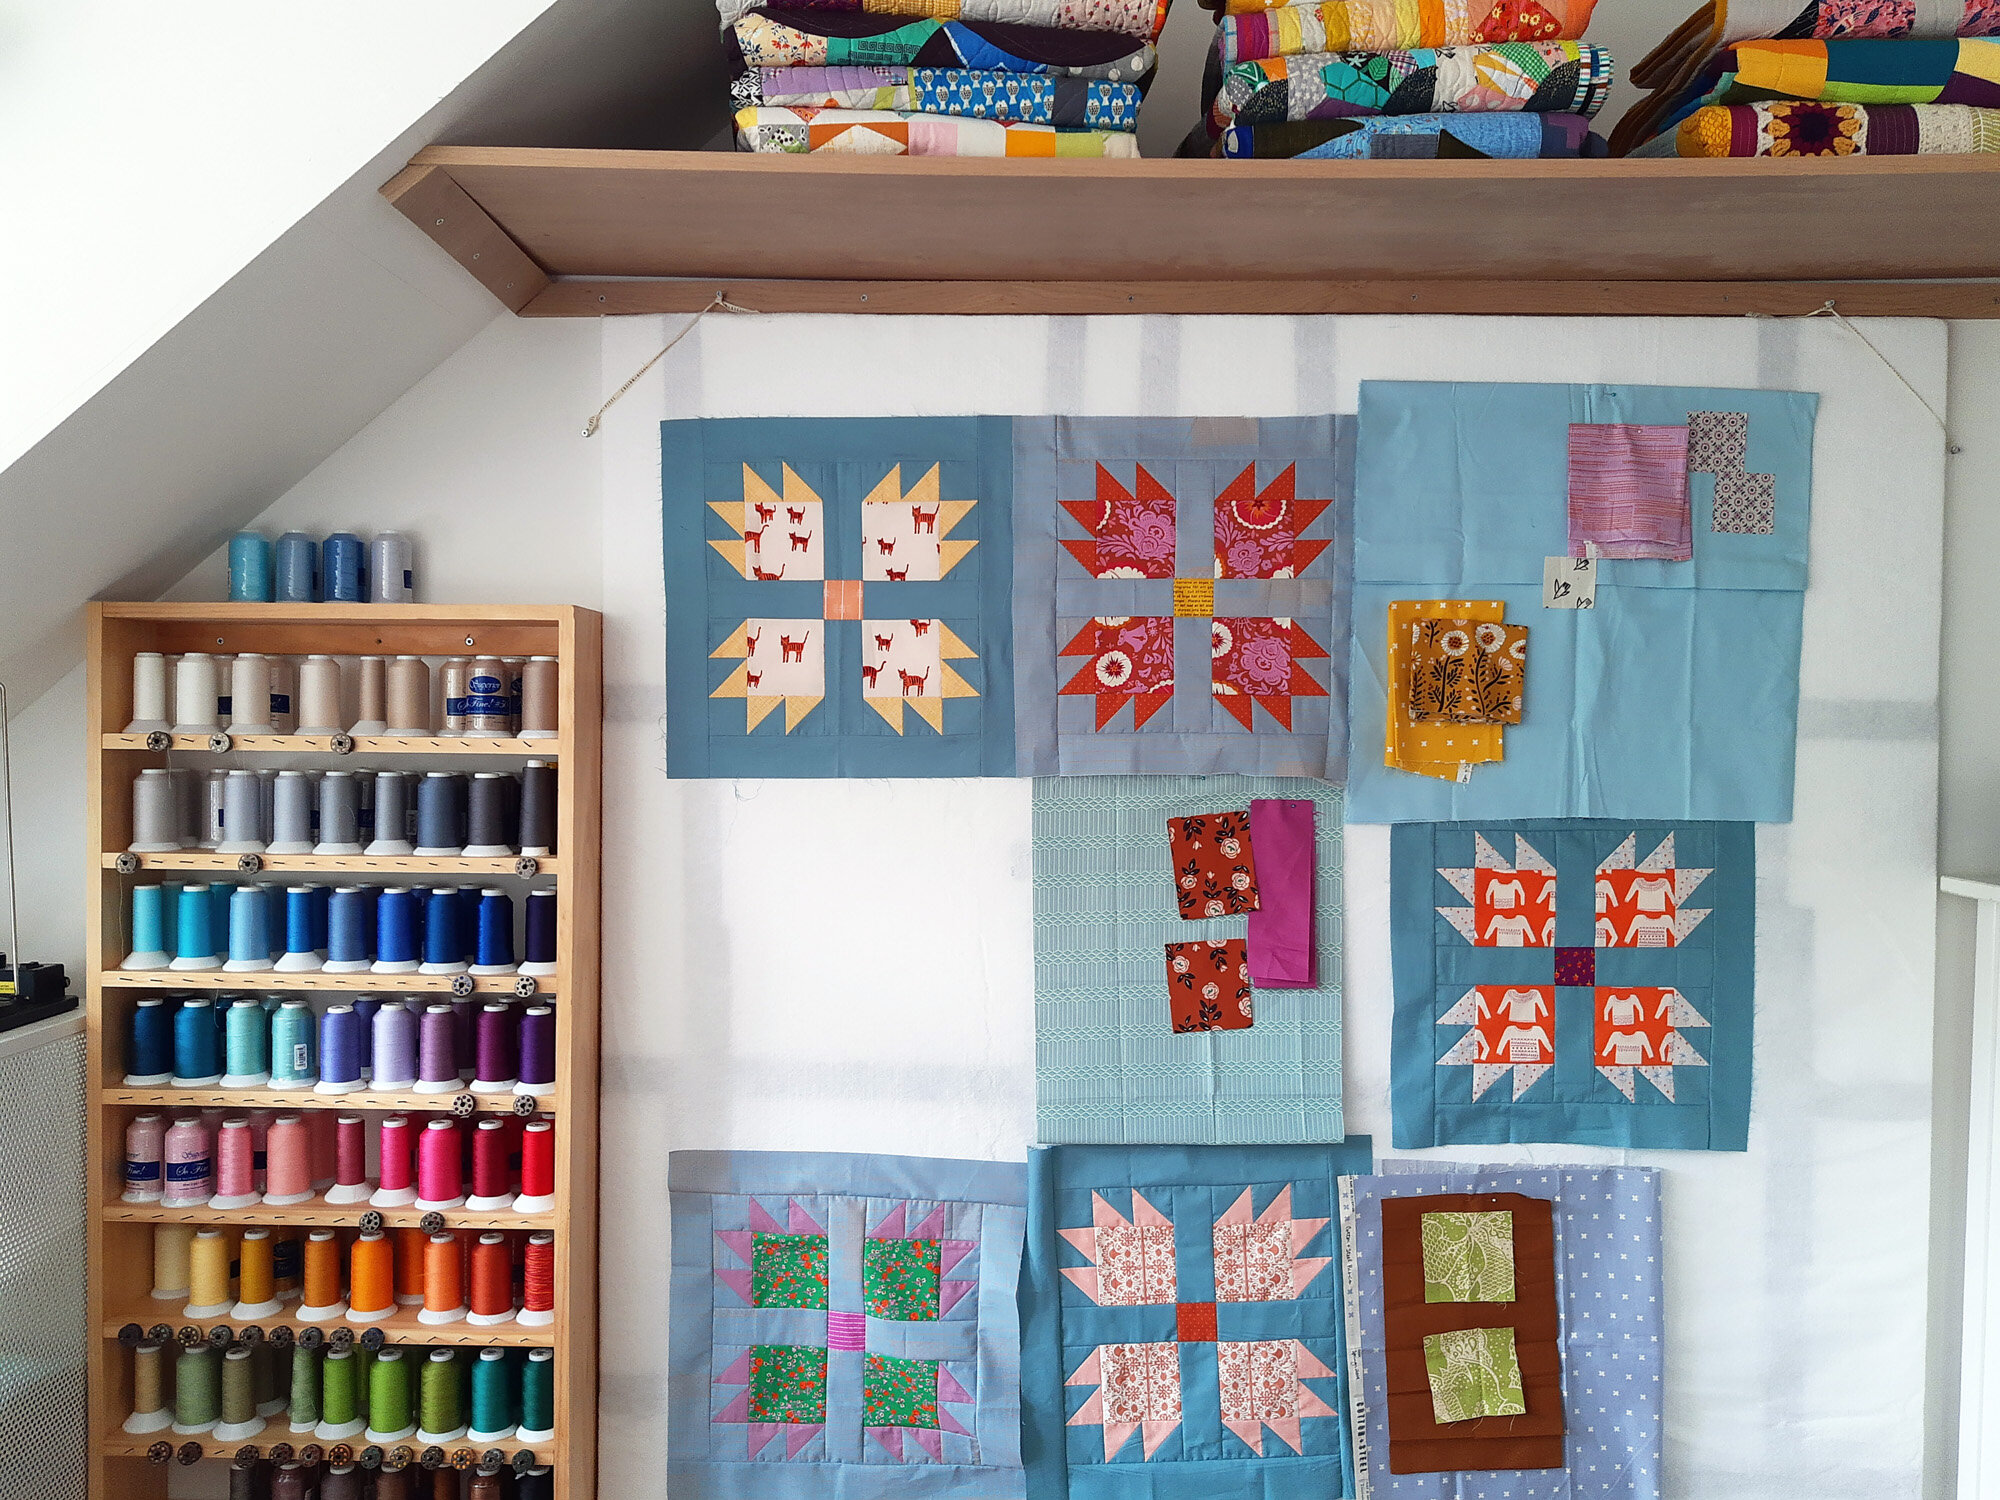
And on the wall behind the machine, which is actually the largest flat wall in the room, I have hung my thread shelf and a design wall. The design wall was the hardest part about making a change to a smaller room. This one is less than a third the size of my old design wall, plus it’s hard to reach from my sewing area. That said, I’ve been going without a design wall for months due to our relocation. I can attest that any design wall is better than no design wall. For real.
Brandon and I made this design wall out of small insulation boards from the hardware store. We taped them together with duct tape and then wrapped it with white batting before attaching to the wall. The sad thing is that you can totally see the duct tape through the batting. When we noticed this, Brandon said that one can actually buy white duct tape. Arrgh! Too late for me, but not for you. If you duct tape insulation boards together, get white tape!

Nestled into this edge of the room are two dressers and more Kallax fabric storage. We brought these dressers from the United States, but they weren’t practical to use in the bedrooms. It’s lucky that they fit here, because I can definitely use them!

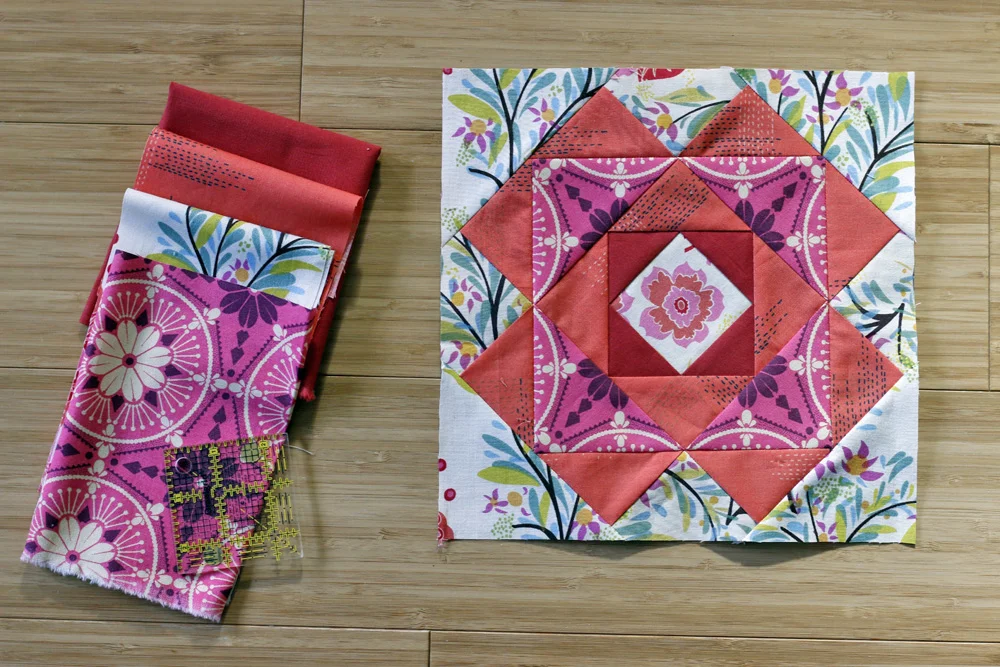
And the fabric. Oh, the fabric! The other day, I sat down on the floor and rummaged around, creating a fabric palette spread out on the floor in front of me. It’s so nice to be reunited with all my colors again!
Yes, it’s a very tight space. I can’t say that I don’t miss my last sewing room, with its generous open spaces and gigantic design wall. I do! But, this room is growing on me too. It has become my little creative retreat, tucked away up the stairs and out of sight of everything else that might need to be done, with a beautiful, tree-filled view.
Thank you for stopping by for a visit!
p.s. Does your sewing room need a makeover? Last year I wrote QuilterSpace, a course designed to help you organize and beautify your sewing space. It’s now available as a beautiful pdf coursebook. I drew from QuilterSpace resources to put together my room. You might like to check it out!