Flirting the Issue Sew-Along {elastic/hemming}
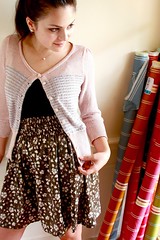 |
| image by Anna Maria Horner |
Aim to finish your skirt in time for the Link Party on Friday because two lucky participants will receive gift certificates donated by Fat Quarter Shop and Pink Chalk Fabrics!
::Materials:: May 2nd
::Cutting:: May 12th
::First Steps:: May 13th
::Elastic/Hemming:: Today!
::Link Party:: May 16th
It's time to finish these skirts! Today we're gong to sew channels for the elastic, thread the elastic and hem the skirt. It sounds quick... but actually the threading of the elastic is rather time consuming with this skirt. Time consuming, but not at all hard. Fortunately it makes an awesome waistband (at least I think so!), which makes that fiddling totally worth it. Let's start!
::Sew Channels::
After step 3 your skirt layers should be resting wrong sides together with a pressed waist seam. Follow the directions is step 4 to create 3/8" wide channels for the 1/4" elastic. It's important here that the elastic is smaller than the channels (for threading purposes) so be sure not to let those channels get smaller than 3/8".
If you're sewing a girl's skirt, you could definitely get away with 3 channels of elastic. Women will enjoy the 4-channel design, which makes for a flexible, forgiving waistband.
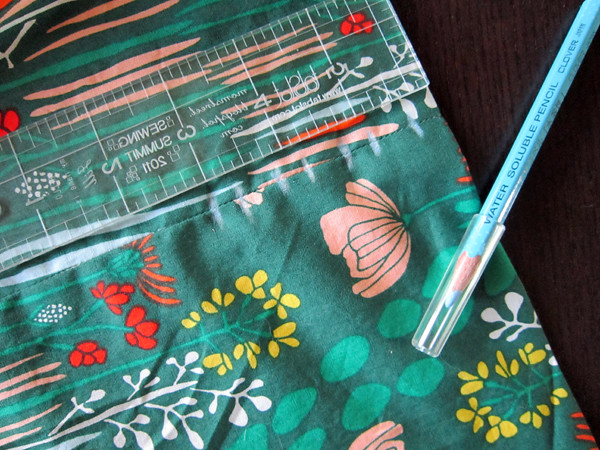
As Anna suggests, mark your sewing lines all at once. You may want to mark them at both side seams, just for added reassurance as you sew around that you're on the right track.
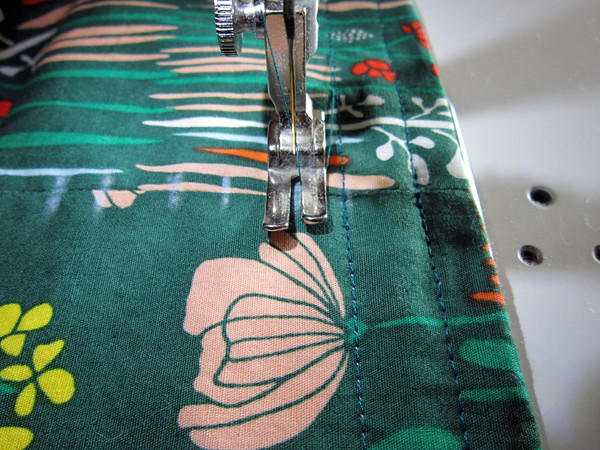
Load your machine with thread to match your main skirt fabric. Sew the channels. At first you can see marks on your sewing machine throat plate as you sew and use those to guide your channels, keeping them straight all the way around the skirt. When they are no longer visible, consider sticking a piece of washi tape on the sewing machine to guide you.
::Thread Elastic::
Cut 4 lengths of 1/4" elastic at 2" shorter than your waist measurement (or 3 lengths if you've chosen to do 3 channels). So if you're waist measurement was 35", cut 4 elastics each 33" long.
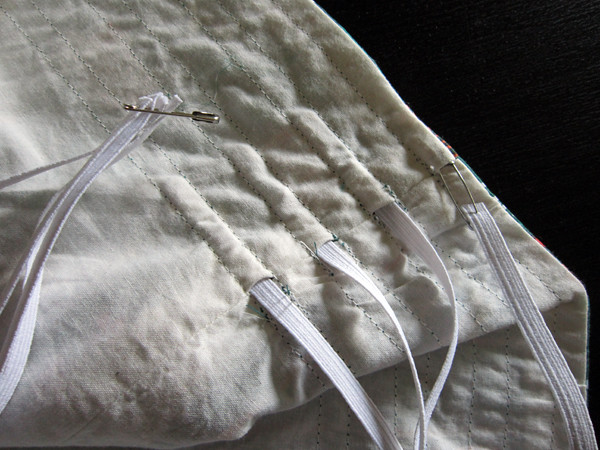
Follow directions in step 5 to thread each channel with elastic. The above photo corresponds to Anna Maria Horner's illustration for step 5.

I think it works best to thread all channels at the same time, bringing each a little bit at a time and keeping them about even. This is going to be slow work, so watch a show or chat with a friend while you gather up the skirt. The good news is that when you finish this step it will look like a skirt. Super exciting!
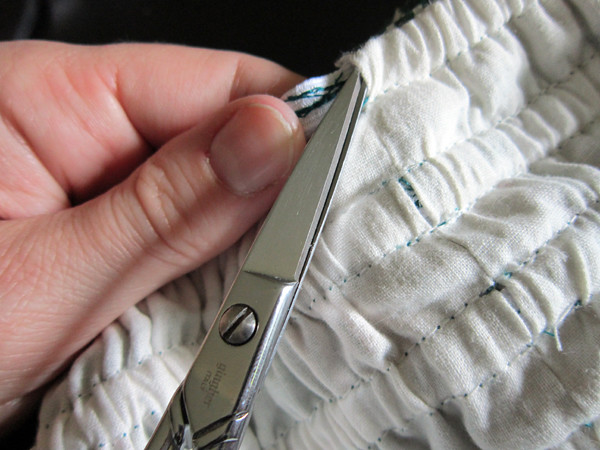
When (at last!) the elastic is threaded all the way around, see step 6. If you have trouble getting the machine sewn/tacked elastic back into the channels, try using small scissors to slightly lift the channel open as you stuff.
By the way, you can totally skip whipstitching the elastic openings shut, if you like. That's not going to effect the durability of the skirt and no one would notice such a tiny opening on the inside of a skirt.
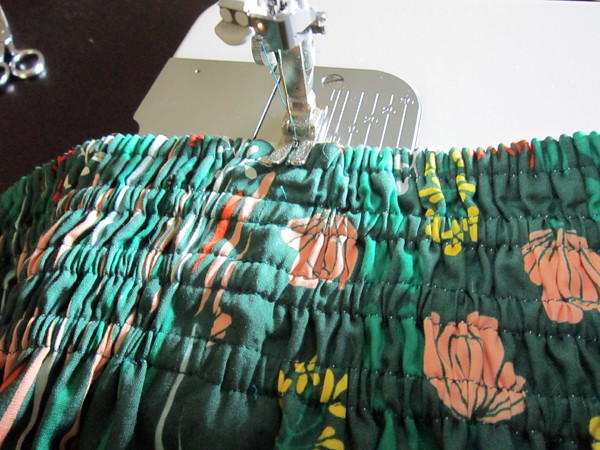
Don't skip step 7 though - stitch in the ditch at the side seam waistbands. Anyone who's worn maternity clothes knows that twisted elastic happens and is a real pain to fix. Best to secure it in place after making sure your gathers are evenly distributed around the skirt.
::Hem::
You're almost done! Follow step 8 to hem the main skirt and lining.
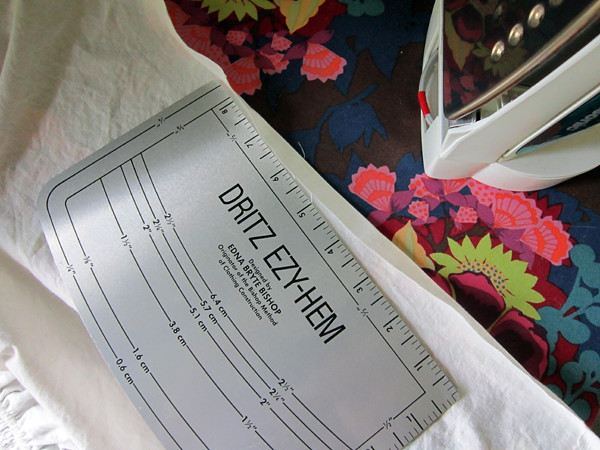
If you're an experienced quilter, you can probably eye the 1/4" hem pretty well, but what about a 1/2" hem? I'm a fan of this easy hemming tool. It's made of thin metal, so you iron right over it while measuring the correct fold. Works great for hemming clothes and curtains too!
Ok, that's one skirt down and one to go. I can't wait to see how the quilting cotton and voile skirts differ in drape and comfort. I've already tried on my quilting cotton skirt and absolutely LOVE it. Will show you both on Friday, at our Link Party!
