Flirting the Issue Sew-Along {first steps}
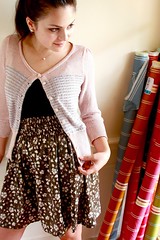 |
| image by Anna Maria Horner |
Aim to finish your skirt in time for the Link Party on Friday because two lucky participants will receive gift certificates donated by Fat Quarter Shop and Pink Chalk Fabrics!
::Materials:: May 2nd
::Cutting:: May 12th
::First Steps:: Today!
::Elastic/Hemming:: May 14th
::Link Party:: May 16th
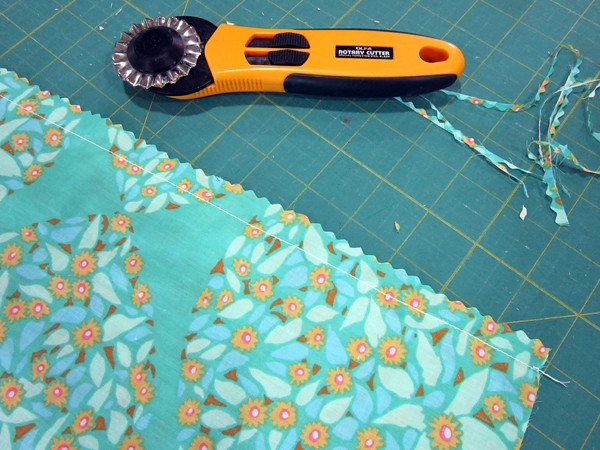
Today let's tackle steps 1-3 in the downloadable Flirting the Issue skirt pattern. This is pretty simple stuff. You'll sew the side seams to create your huge tubes - one main fabric tube and one lining fabric tube. Then you'll sew a seam all the way around the waist that connects the main and lining fabrics. Anna has great illustrations for these steps, so I'm sure you won't get lost.
::tip:: Finish Seams
This skirt is designed so that the side seams of the main and lining fabrics (sewn in steps 1 and 2) have exposed raw edges. Of course, you don't see those from the outside of the skirt, so there's nothing actually wrong with that. However, over time, with wear and machine washing, the raw edges will soften and unravel a bit. If you'd like to help your skirt withstand more use you can "finish" those seams.
Folks who sew garments often might use a serger to sew those side seams. A serger would finish the seams, encasing raw edges to prevent unraveling. But you don't have to have a serger to finish seams!
{option 1} Pink seams
After sewing steps 1 and 2, pink the raw edges along all side seams. Using pinking shears or a pinking blade, cut off just enough fabric to create a pinked edge. Then press seams open. This pinked edge withstands wear better than a straight raw edge.
{option 2} Zigzag seams
After sewing steps 1 and 2, press side seams open. Then, run a zigzag stitch centered over each raw edge. Be sure not to sew through the skirt, just the seam allowance! Part of the zigzag stitch should land on the fabric and the other part sews through nothing. This creates a slightly wrapped/rolled raw edge that's almost as durable as a serged edge.
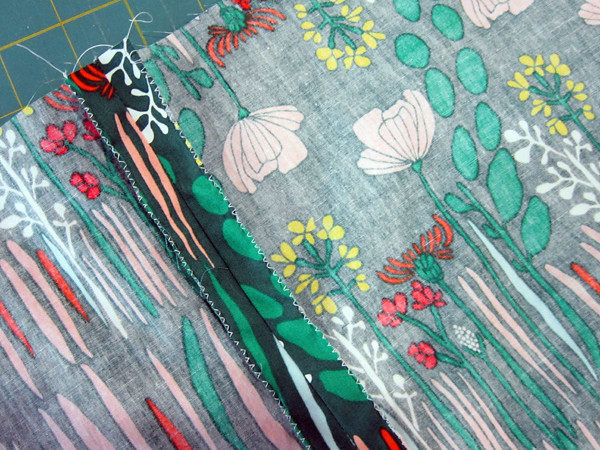
When you've finished your seams, continue to step 3. There is no need to finish the waist seam (step 3) since it is totally encased during step 4.
We'll finish up tomorrow with installing elastic and hemming our skirts! You'll want thread that matches your main skirt fabric for tomorrow's work. If you're sewing along, I'd love to know how it's going. Feel free to share any additional tips you have in the comments!
