Bottled Rainbows: Joining Blocks
This post is part of a series Bottled Rainbows {ticker tape quilt along}. You can join in anytime. We're going at a leisurely pace and using up our scraps! Please see this page for links to all posts, and join us on Flickr to share your questions and work-in-progress!
I have to warn you, this Bottled Rainbow business is spreading like some sort of springtime virus. It's popping up all over blogland and it's taking more and more people all the time. If you really, really, really don't want to make a Bottled Rainbow quilt, be sure not to look too close! Because once you get started.... well, I've heard you don't want to stop!

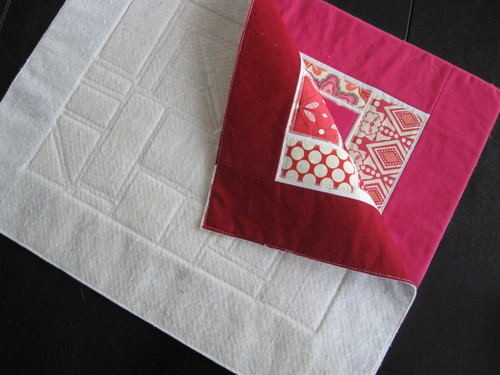
This week I added another block to my collection, this time the lighter pink block called "Candy Pink" in the Bottled Rainbow color grid.
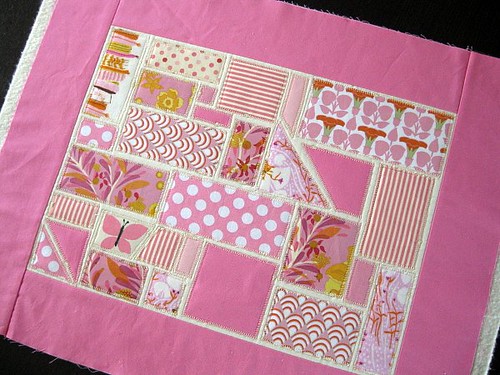
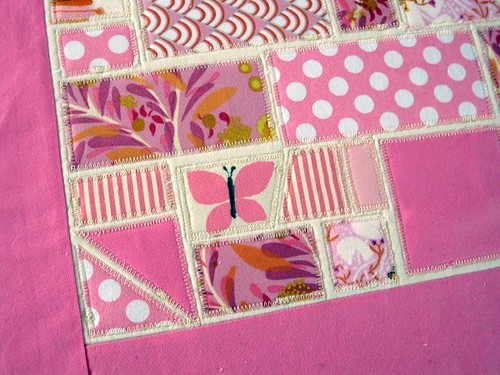
I like how this little corner turned out. I happen to have these butterflies in many of the Bottled Rainbow colors. I think it'll be fun to have the same butterfly appearing here and there!
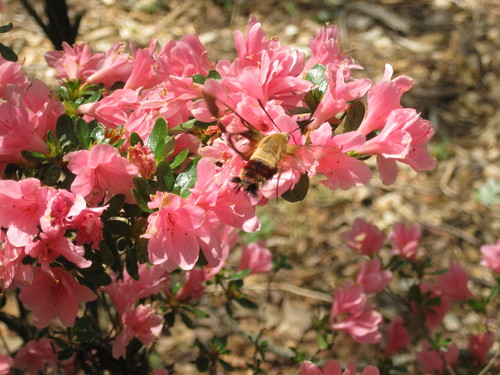
I thought I'd snap a picture of the very azalea bushes that make me think "petal" when I see this intense shade of light pink. And look what I found among the blossoms!
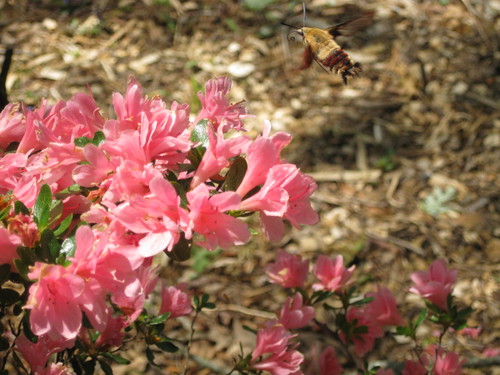
Actually, I don't know what it is. Do you? It's bigger than a bumble bee, but smaller than a hummingbird. It kind of scared me, I'll admit! Not having grown up in South Carolina, I'm at a loss sometimes with the insects. Oops, we're so far off topic now, aren't we!
Did you think I was going to talk about joining block? Ok, yes, I am. Really.
If you're following along with the Quilt-Along, you're making blocks via the Quilt-As-You-Go (QAYG) method explained here. Even though it feels just crazy, just wild and reckless, we're making our blocks with batting and no backing. Now, this is not my very own idea. Suzuko Koseki teaches QAYG in Patchwork Style. With QAYG, you join finished blocks with right sides together and press seams open. Once you've pieced the quilt front (batting already attached), you add the quilt back as one huge piece. To secure, you could either machine quilt, hand quilt or tie the quilt. I'll be machine quilting with a zigzag stitch along the seams of the blocks myself! My friend Penny did some testing and advocates this approach (QAYG with batting, blocks joined right sides together, seams pressed open, backing added as one big piece).
Let's join some blocks!
Right Sides together
I recommend joining blocks in columns, rather than rows, which should make it easier to keep things straight! So, I'm going to join these blocks along the long side.
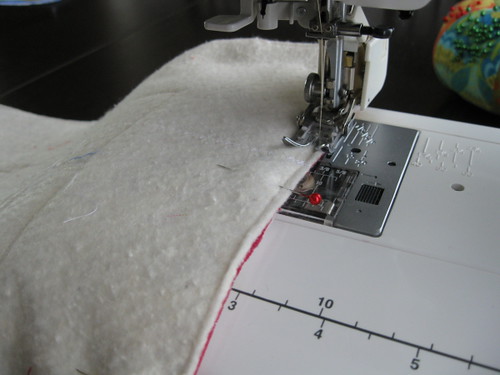
Stitch 1/4" Seam
Use pins to prevent shifting. Your sewing machine should have no problem stitching this!
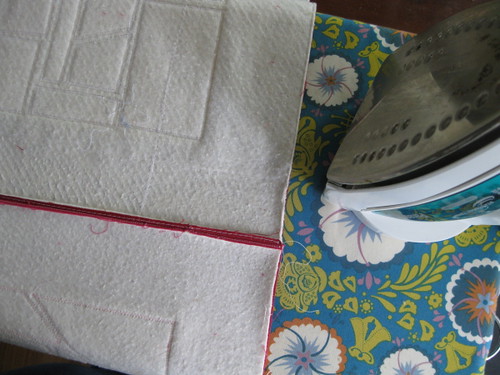
Press Seams Open
Yep, the block top and the batting - both pressed open. Actually, I press seams open all the time anyways. Makes for the flattest seams!
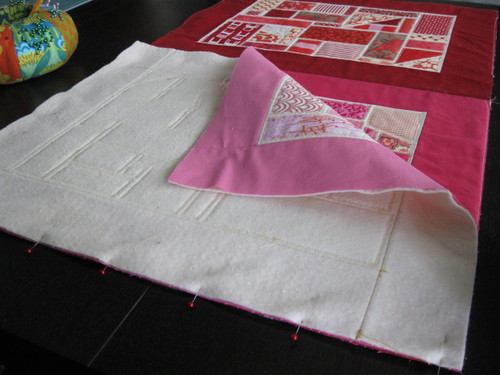
And Continue
Keep adding to your column until you've joined all 4 blocks. Once you have 4 complete columns, you'll join them together in the same manner with 3 long seams. Always press seams open! Although the seam creates a little "ridge" of sorts if you run your hand over it, it is not visible to the eye and would not at all effect the use or the beauty of the quilt. In fact, a non-quilter would probably never give that seam a second thought!
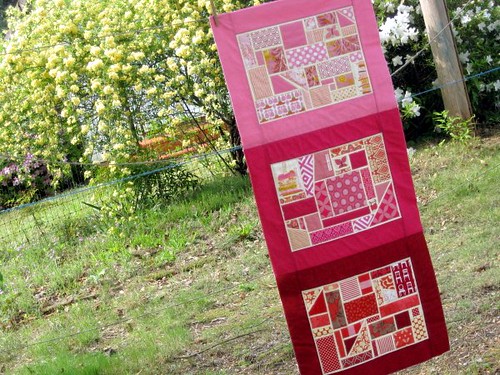
Here is the start of my first column! That's Petal, Raspberry and Ruby. They look quite at home with Spring!