After the Rain: Assemble + Improv Backing
This post is part of the After the Rain Sew-Along! See all posts.
Today we wrap up the After the Rain sew-along with some tips for creating an improv quilt back using your leftovers. It’s time to get this work-in-progress ready for quilting!
I love to see your progress pictures, wherever you are in the process, on Instagram via #AftertheRainSAL.

Week 4: Sew an Improv Backing
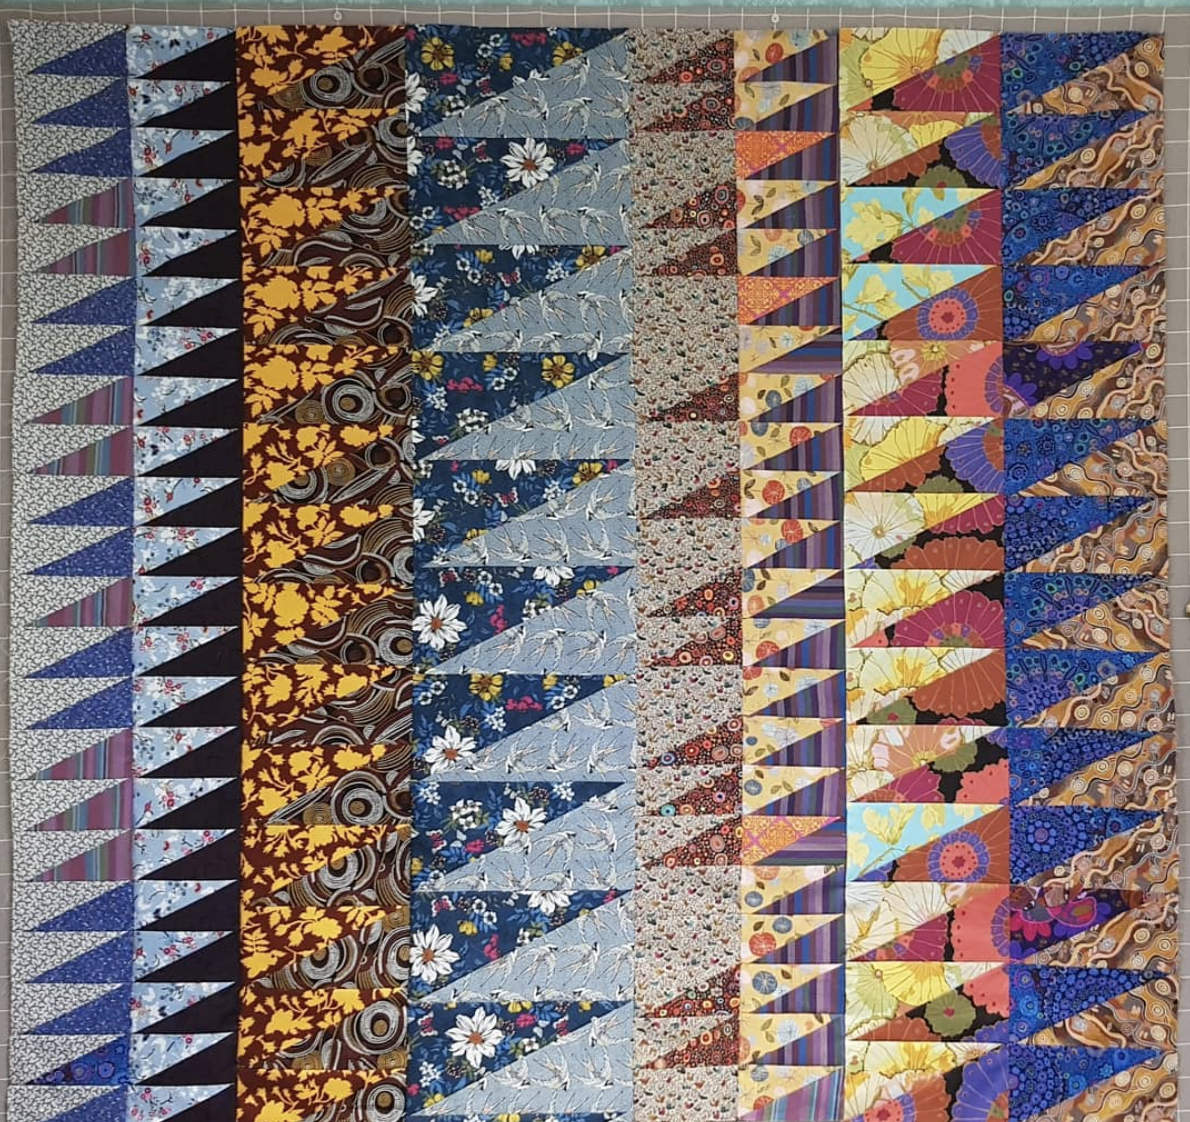
Our project is almost complete. I hope you’ve enjoyed all aspects of the process, from setting intentions to choosing expressive fabrics to the actual, meditative sewing. If you haven’t done so already, join columns together as per the pattern to complete your quilt top.

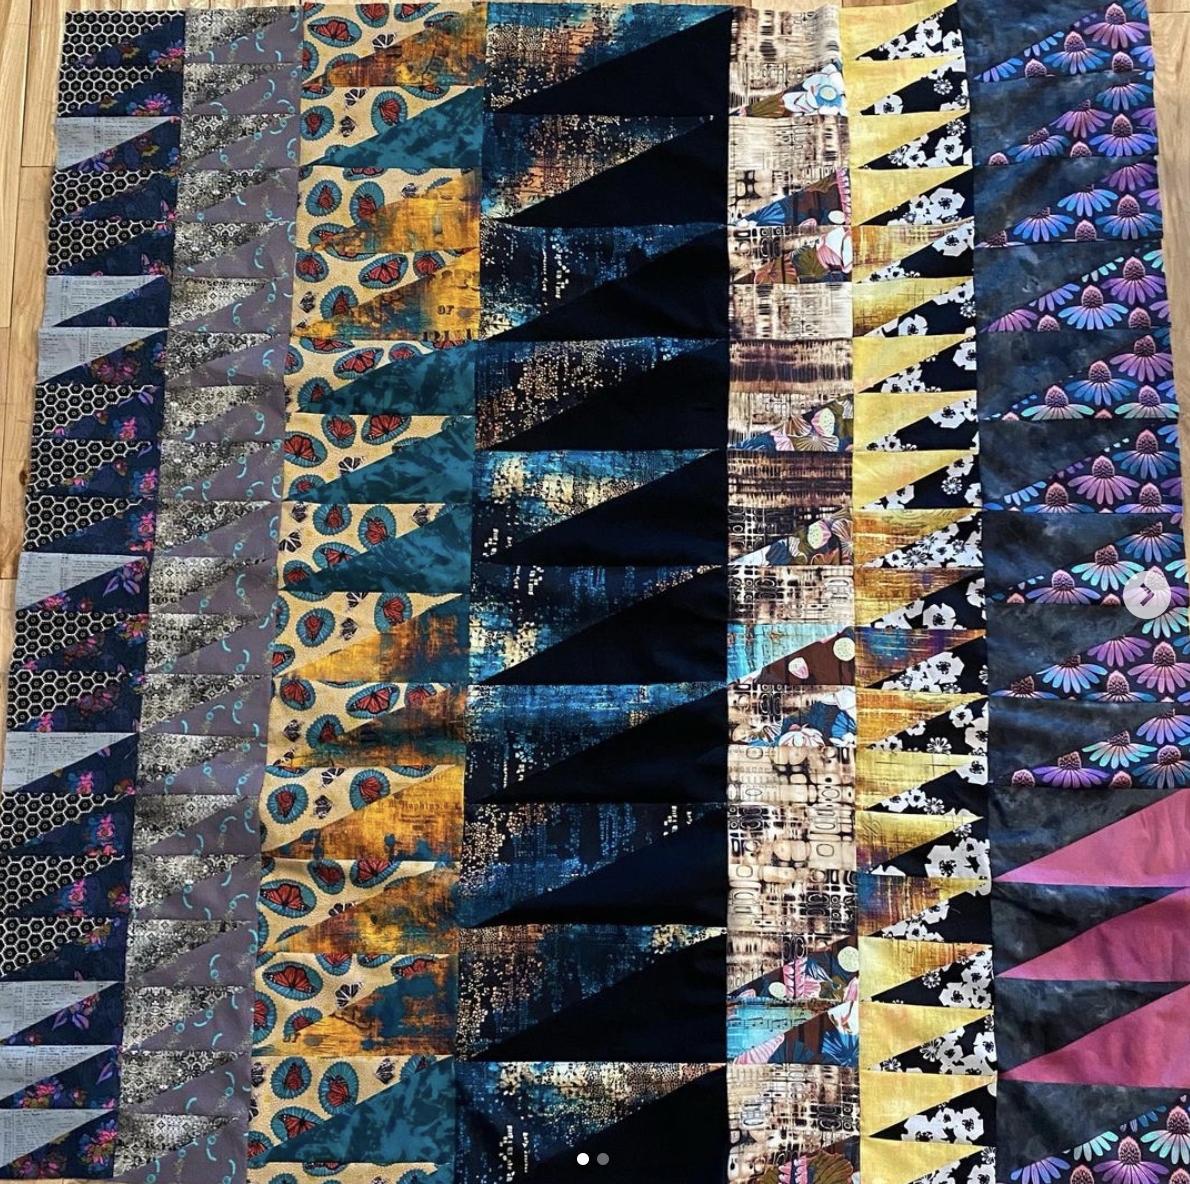
What are your plans for your quilt back? Sometimes I use yardage, but often I prefer to piece together leftover fabric from the quilt top or things that coordinate from my stash to create my quilt backing. It feels good and is economical too. Here are some pointers if you’d like to do the same.
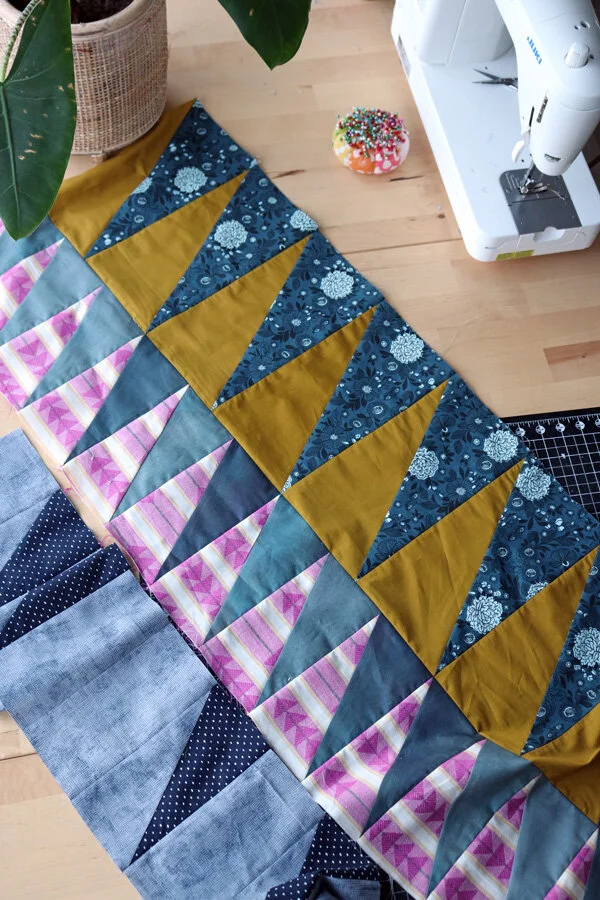
Lay your quilt top on the floor, right side up, to create a working canvas. This way you can easily see how large the backing must be and also how any coordinating fabrics you’re adding work with your quilt top’s palette and style.
Reach for your biggest leftover fabrics first. Arrange yardage in a pleasing format and then try to fill in the gaps from there.

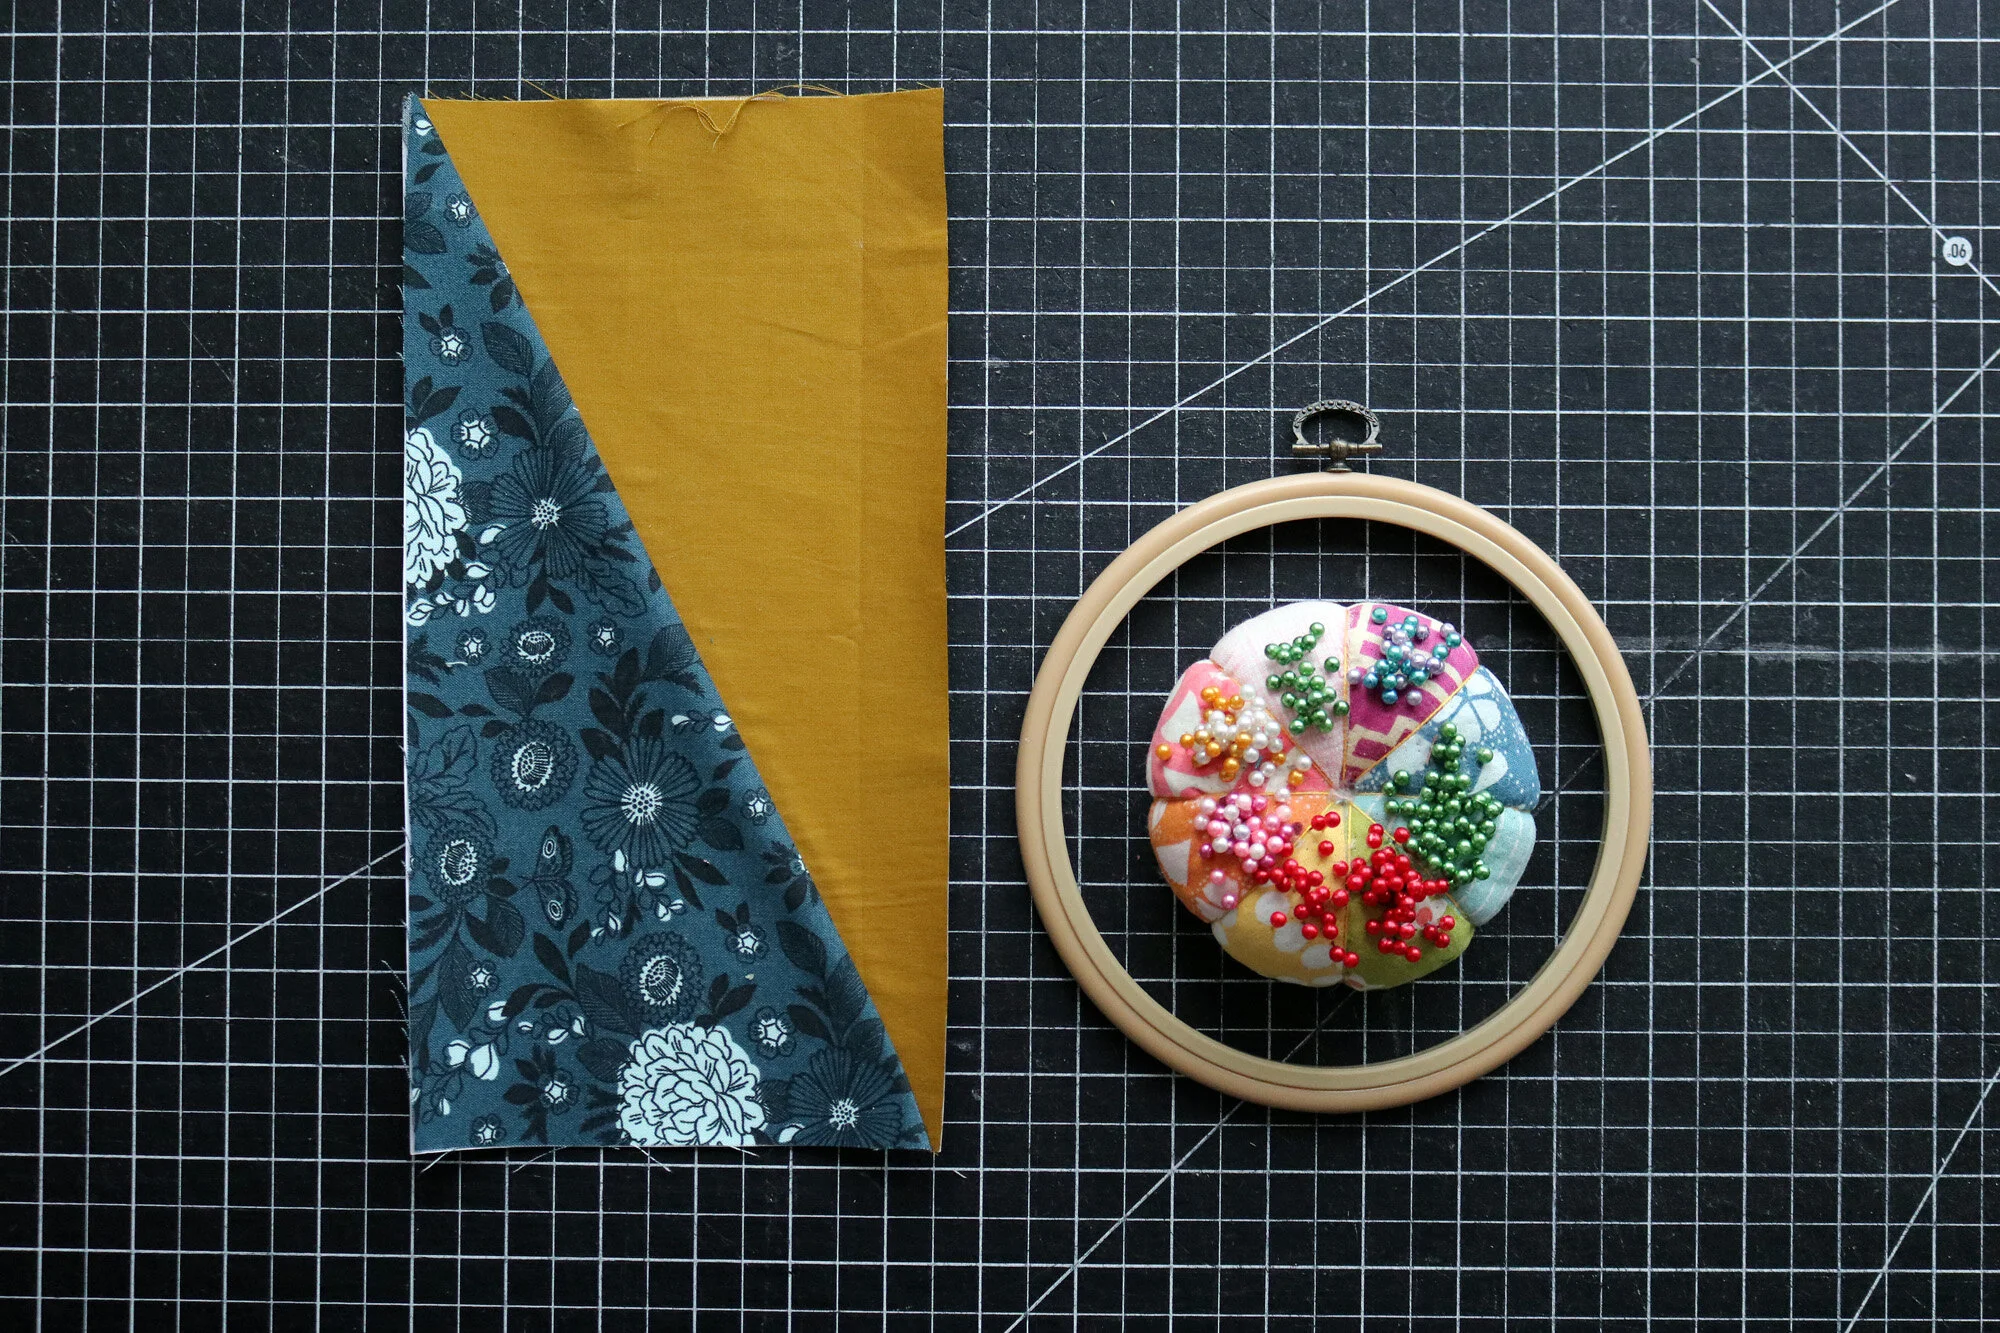
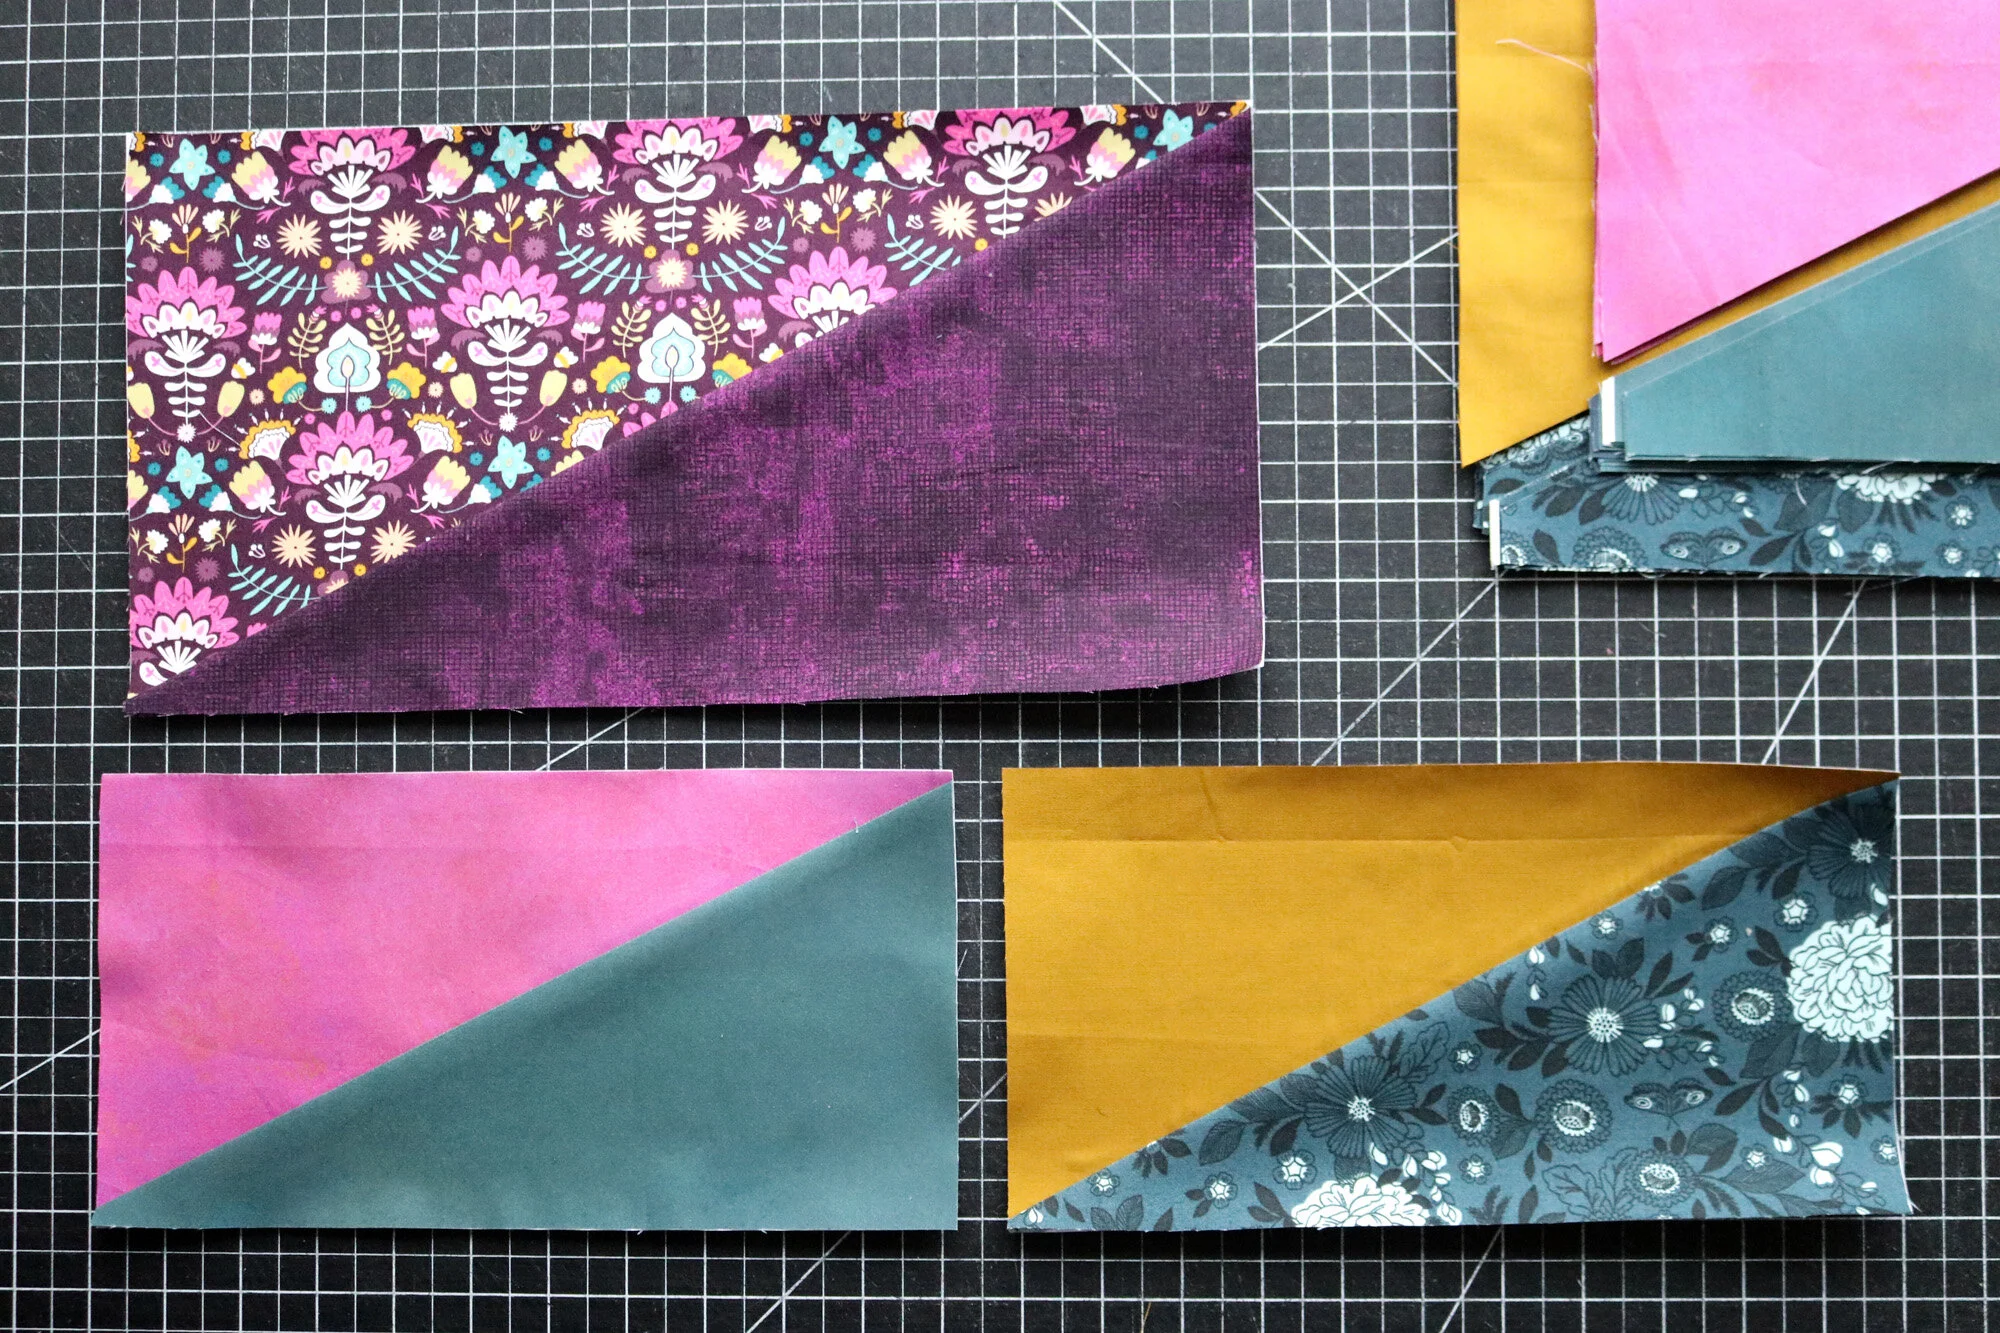
Do you have any leftover triangle scraps? Maybe you cut some triangles in the wrong slant or made some blocks that you ended up rejecting. Incorporating them in the quilt back is a perfect solution!
Relax about technique. My half rectangle blocks on the quilt back have blunted tips, but that doesn’t bother me! The quilt back is a place to explore and find out what works for you.

Consider adding a special focal block on the quilt back, like Penny Bird. Maybe you can think of something particularly meaningful for you or your quilt recipient?
As you sew the quilt back elements together, keep returning them to the gigantic fabric canvas on your floor. Keep checking the size and don’t be surprised if you need to add a bit more than you thought to bring the improv quilt backing to the right size.

Good luck as you finish up your After the Rain quilt and embark on the quilting stage. My first version of this quilt was quilted with straight vertical lines (see above). My second version had custom quilting to emphasize the angles. With my third version, I’m going with curves! There are lots of good options. Looking forward to seeing your finishes soon!
That’s a Wrap!
Thanks again to The Confident Stitch, for donating all the prizes for this sew-along. We appreciate it!
Keep posting your progress photos with #AftertheRainSAL in your Instagram photo caption , so we can all see how your quilt turns out! Here are two recent additions to our hashtag stream:
The winner of last week’s prize is @wondrous_string. I’ve reached out to you via Instagram messaging. Thanks for sharing, friends!