a Baby Doll Bed

Ok, friends, this was NOT easy. It took a good amount of pluck to push through with this project. I’m so glad to have made it to the other side and can’t wait to see Elora’s reaction on Christmas morning!
I’m so glad I have sewing friends to swap “war” stories with, haha. Here goes.
First, the Baby Doll Basket pattern by Made Everyday is well-written and well-designed. It’s a challenging project due to the nature of the finished object. To hold its shape, a sewn baby doll basket requires several layers of interfacing, making for some really thick seams and rowdy curves. As a quilter, I don’t work with interfacing very often. If you like to sew bags, this will be right up your alley.

There is one thing I’d change about the pattern - the call for 5 yards of bias tape. I made my own bias tape from the Starry fabric. I used a little more than half of the full yard of fabric designated in the pattern. Even so, it turned out to be about twice as much bias tape as necessary. Shrug. I’ll use some of the leftovers for the baby doll bibs which are next on my gift-making list.

But, sewing through all that bulk was So hard. I’m sewing on my Juki TL2010Q. This is no wimpy sewing machine, people. It has solid metal parts and semi-industrial speed. I’ve never seen it struggle like this; on the other hand, I’ve never tried to sew through 4 layers of mid-loft batting, fabric and bias tape before. We made it through, but not without a broken needle and an electricity surge that temporarily shut down my power convertor. The point - you need a serious machine to sew through this many layers.
Sponsor of the Week
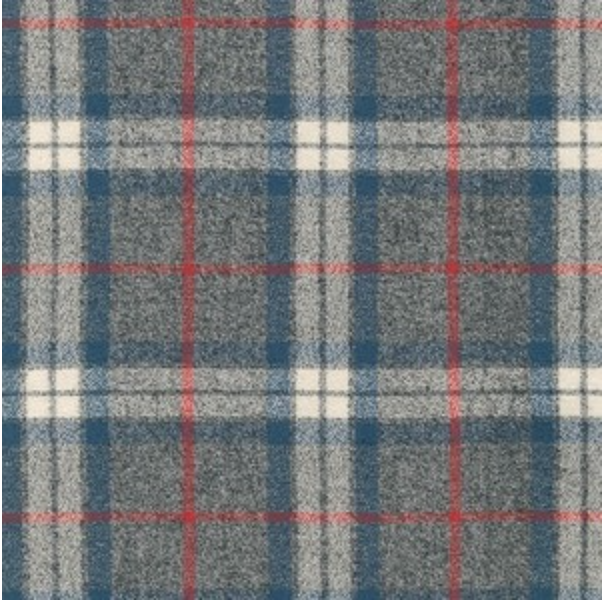
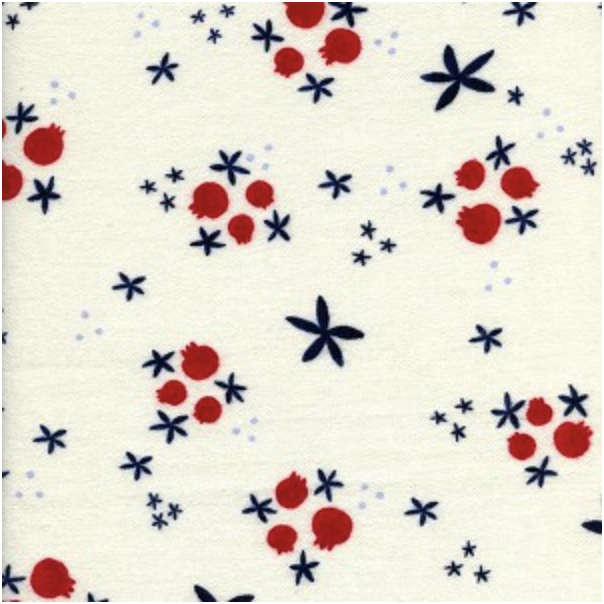
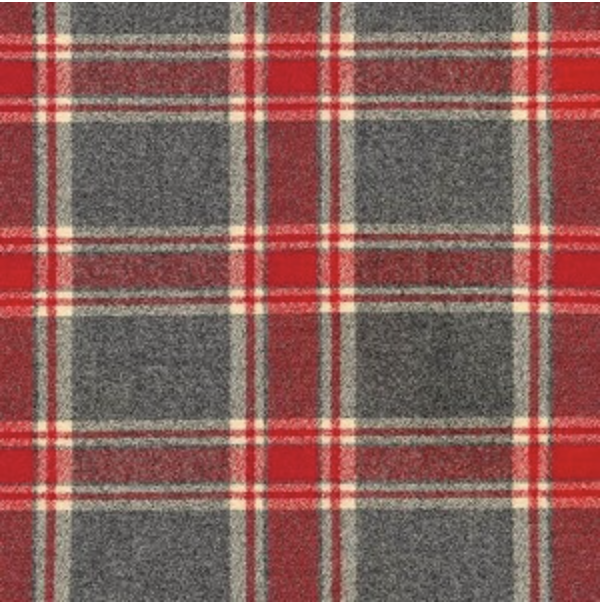
Winter Creek Cloth
Looking for something other than quilting cotton? Find cosy flannels like these for quilt backs and other substrates like corduroy, wool, waxed canvas and voile for all your bag and apparel-making needs!
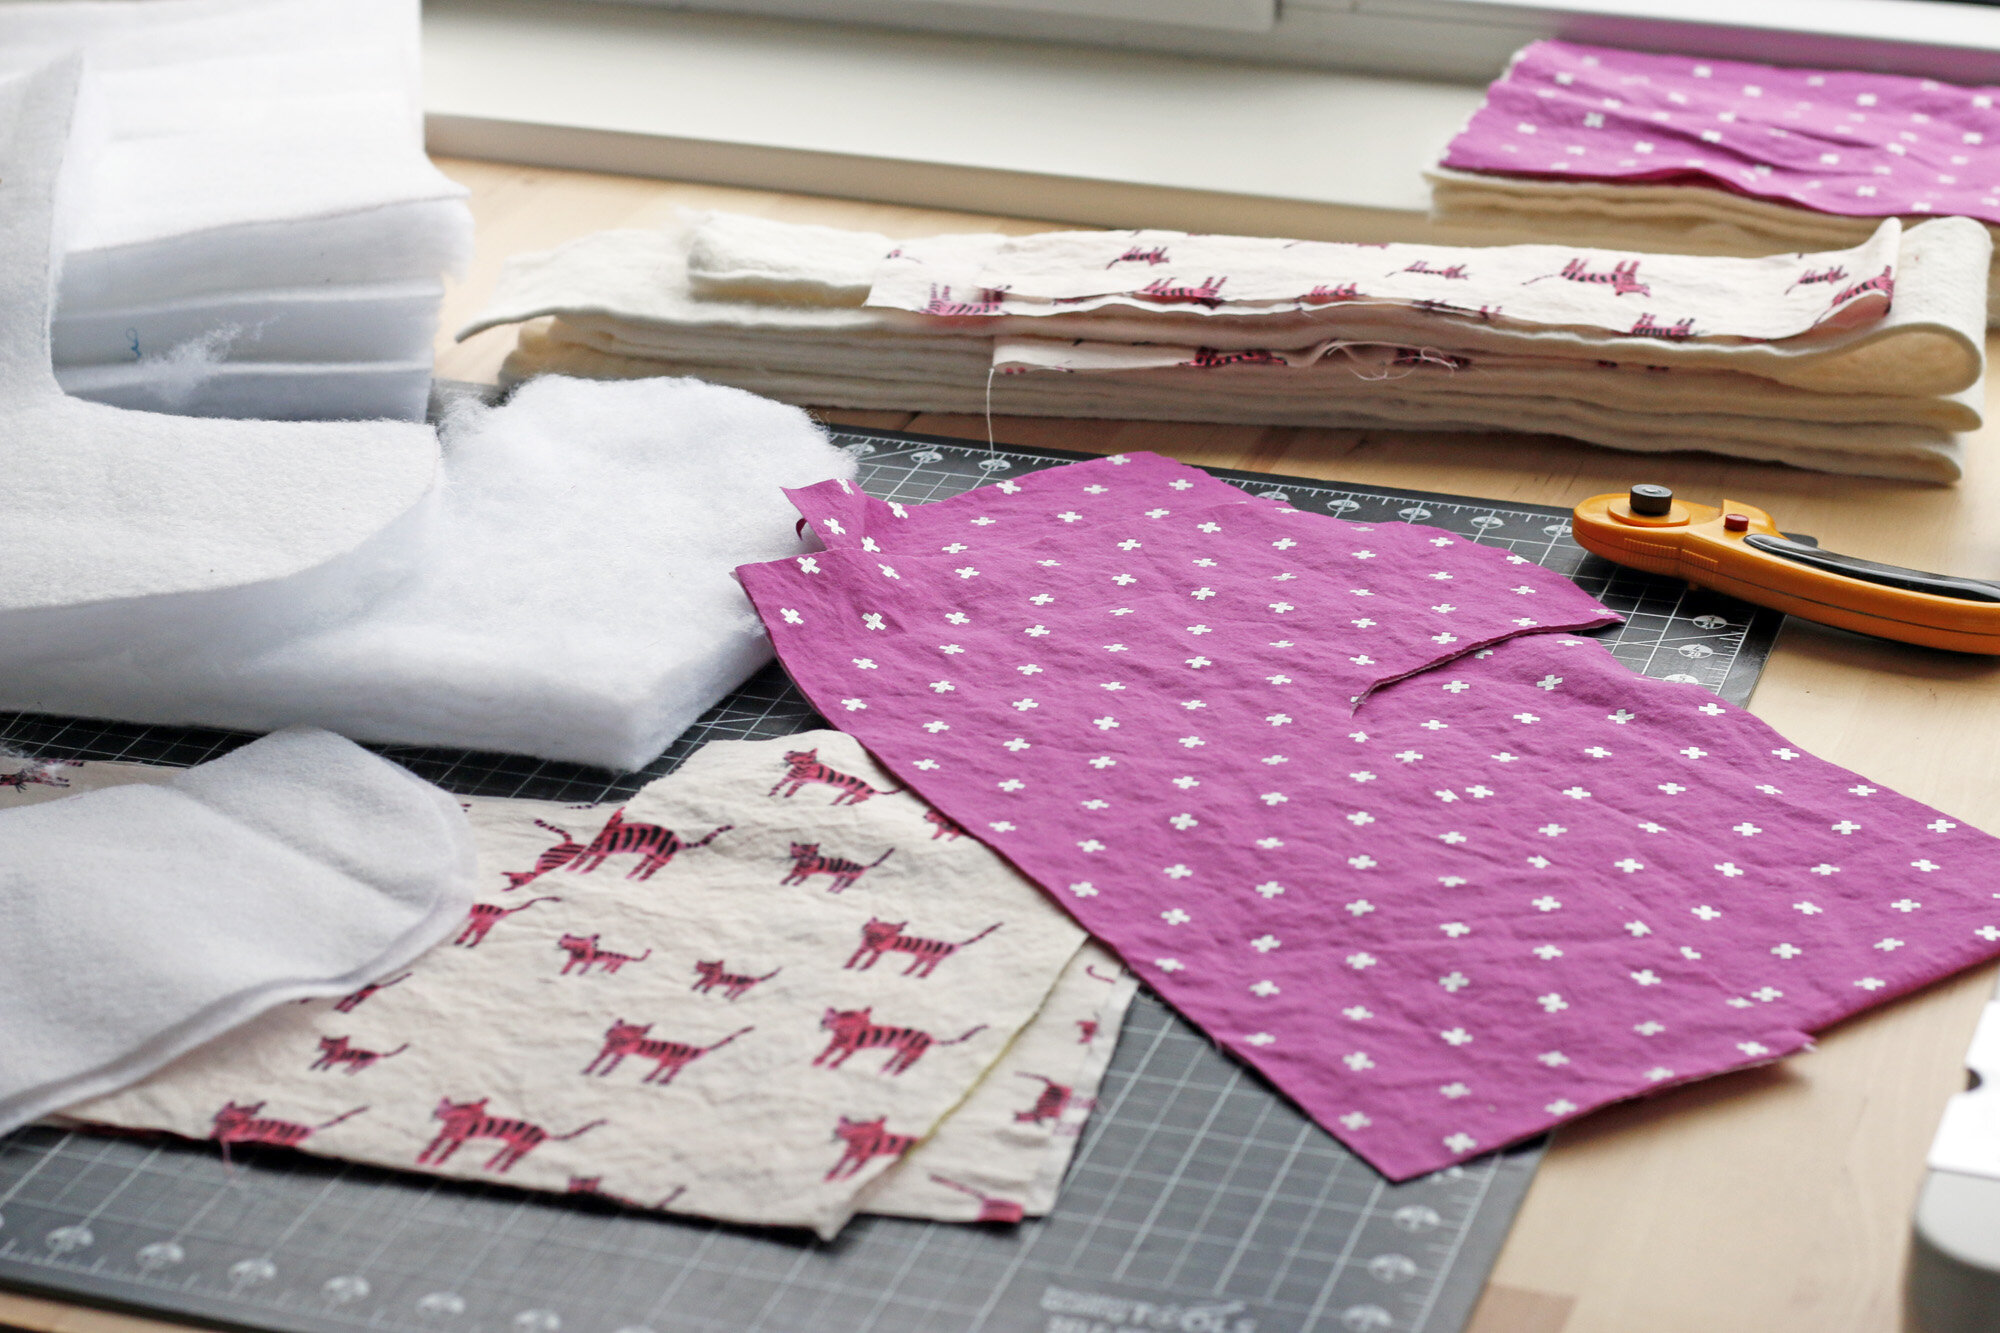
I prepared my outer pieces with heavy-weight interfacing plus batting and the lining pieces with mid-weight interfacing. After joining the outer fabric pieces, I could tell that the project was going to need more oomph (see floppy outer basket on right).

Fortunately I also had some extra-heavy weight interfacing, like the kind for making fabric boxes. I added that to the lining outer edges, which made it stand up quite nicely, almost like a sleigh.
Did I go overboard? Nope! This is the point where the project started looking respectable again!

Due to the thick fabrics, rowdy curves and touchy bias-tape finish, the finished baby doll bed is far, far from perfect. There are the occasional tucks at the curved corners, wobbly seams attaching the handles and irregular stitch lines along the bias tape curves.

I decided not to let it bother me. None of these aesthetic flaws is going to make it less durable or less loved by my little girl. Isn’t it wonderful that our children aren’t critics?

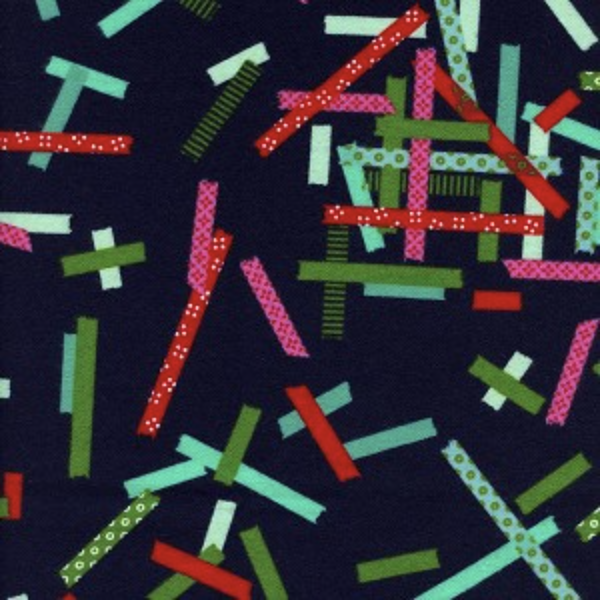
I know Elora is going to be super excited just to see the Tiger Stripes fabric and pinky-purple XOXO in Plummy made up into something just for her and her baby. These are definitely her colors.

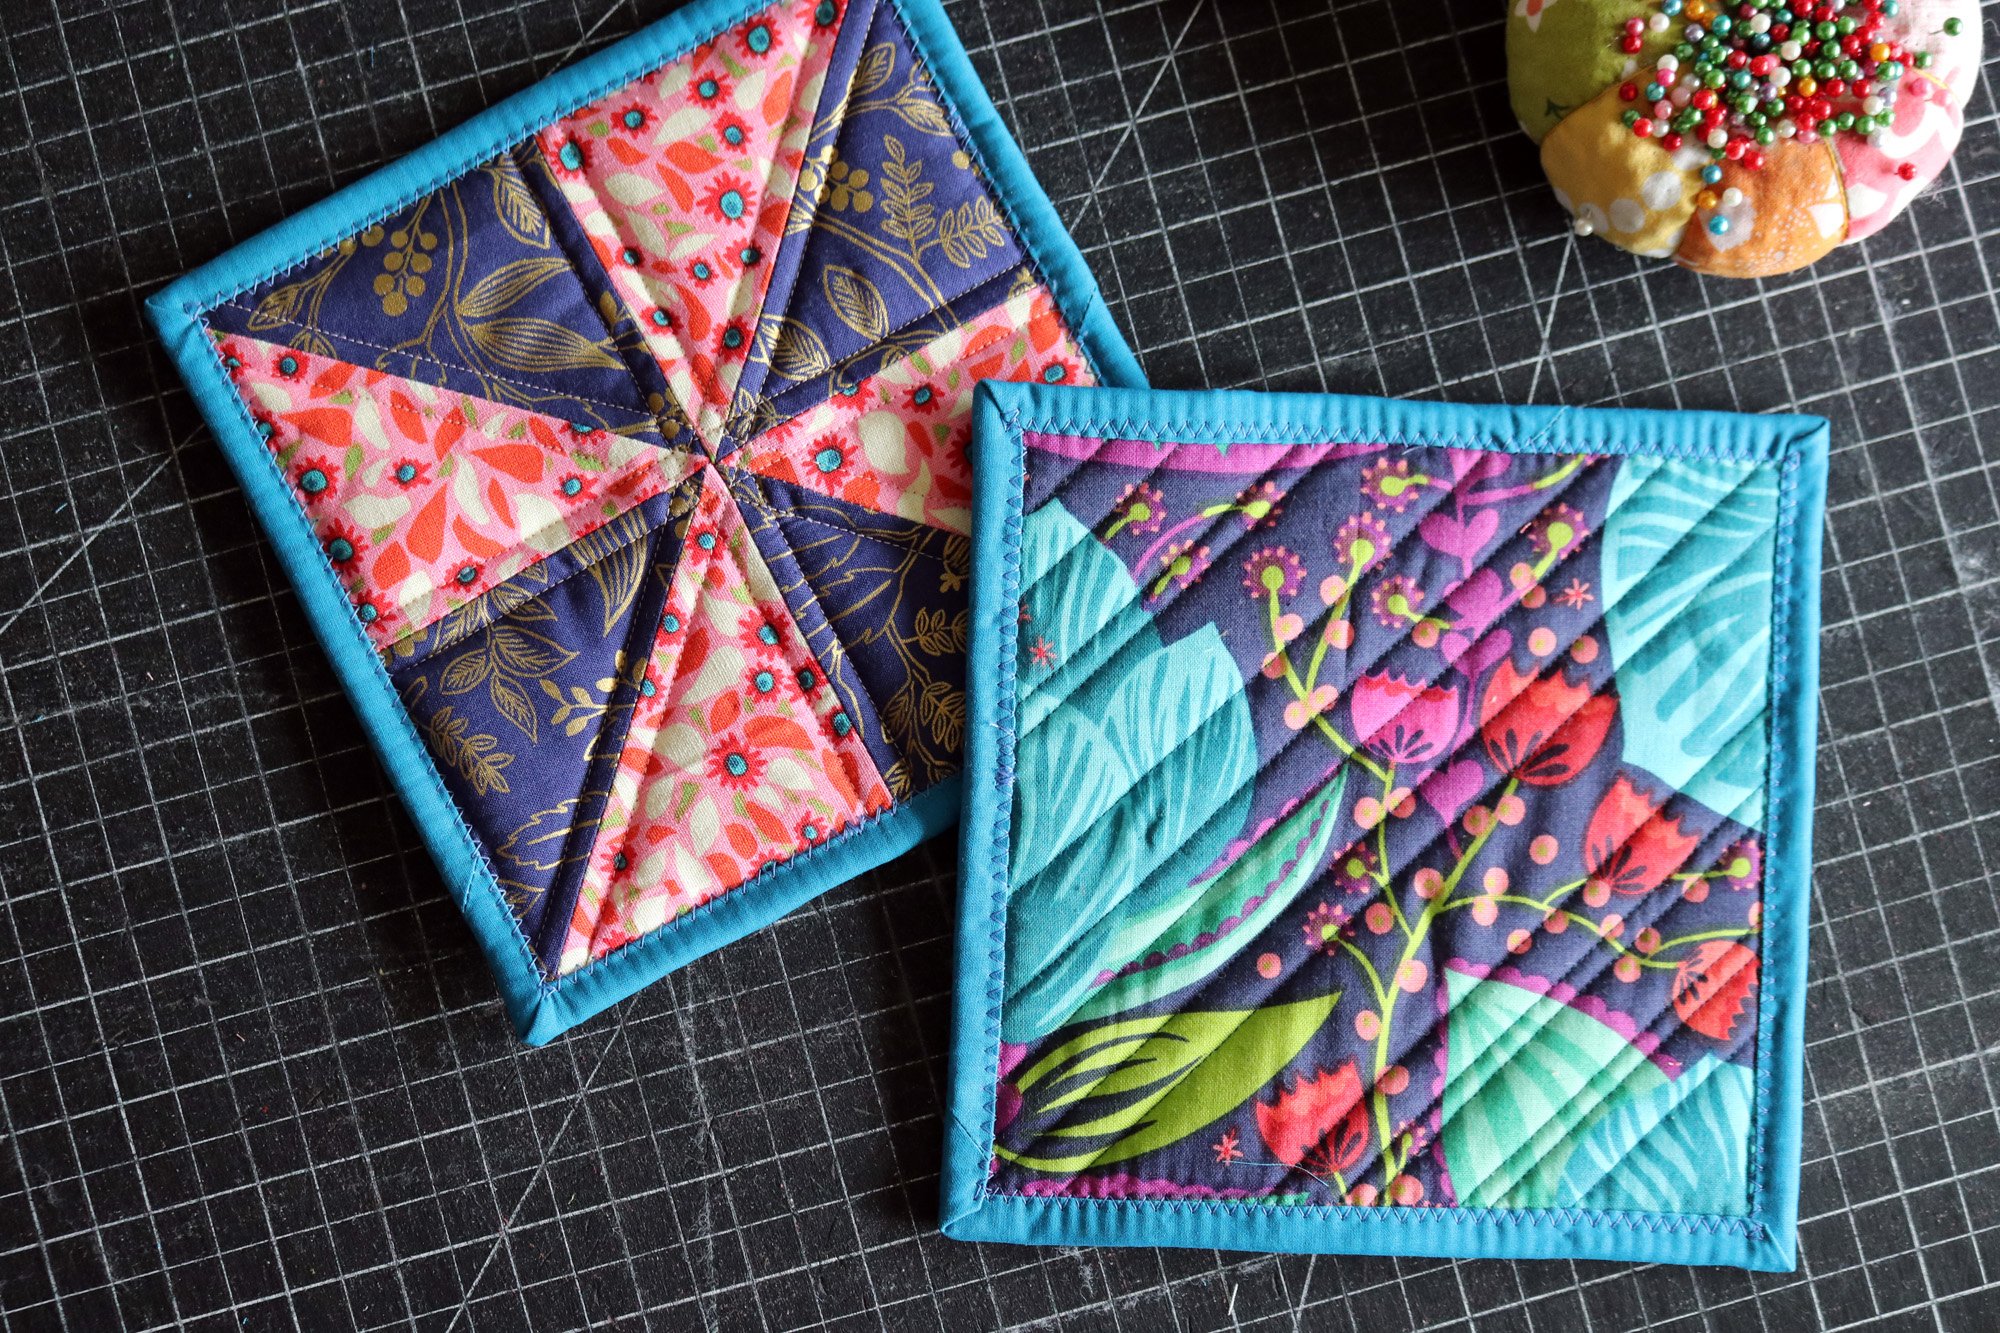
This morning I finished the baby doll blanket - super easy and quick. These are 2.5” x 3.5” cut rectangles in the Ruby Star Society Zip stripes. Elora helped me cut them (she “cuts” with a Hera marker) and will be so surprised to find out it was a quilt for her baby! As per the MADE pattern, it is finished without batting and with sweet curved corners.

So here is Elora’s lucky little baby doll, enjoying Christmas morning early, haha. She looks comfy, eh? Well rest baby, while you can. Soon your little mama will be back from preschool. But, hush, your new bed is our secret!