Kingfisher Stitch-Along: Joining Diamonds

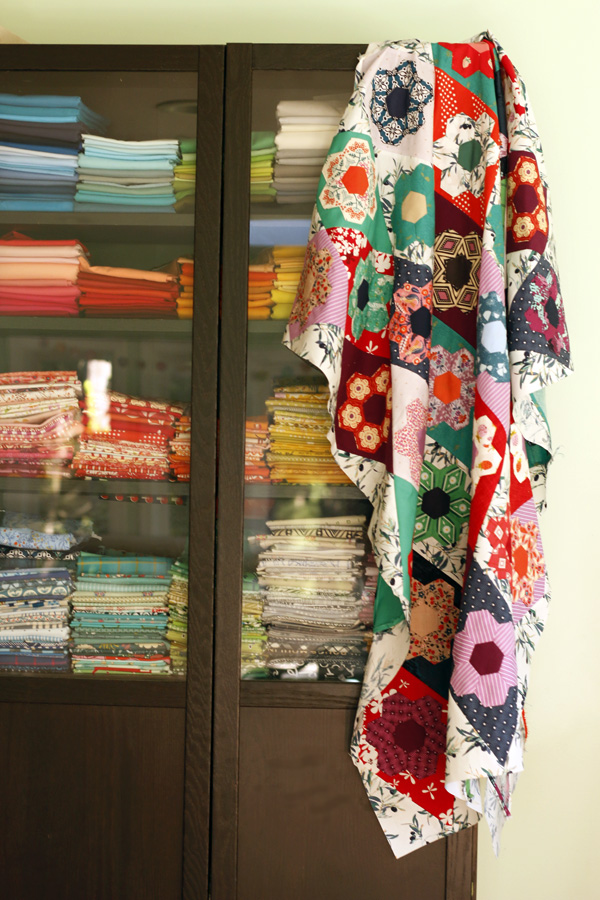
This post is part of the Kingfisher Stitch-Along series. This free, portable project combines English paper piecing, applique and traditional piecing. I'm co-hosting with Jodi of Tales of Cloth. Get all the details here.
Ready to turn all these pieces into the beginnings of a quilt top? There's no need to rush, but when you're ready, this tutorial will be here for you.
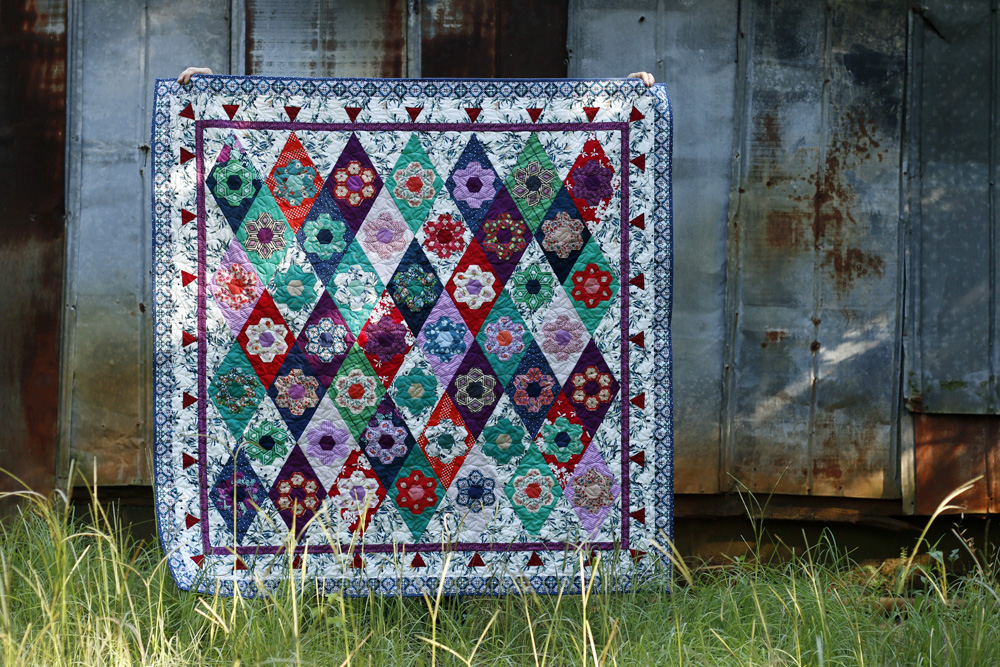
We'll be joining 60 degree diamonds and partial diamonds to make a squared-off quilt top center.
Since this is a common quilting shape, you might like to follow along even if you aren't making this particular quilt. 60 degree diamonds make a beautiful patchwork quilt, all on their own!
Joining Full Diamonds
For starters, let's get a vision of where we are heading. The goal is to create rows with your diamonds. At the edges, the partial diamonds square off the rows to produce a square quilt center.
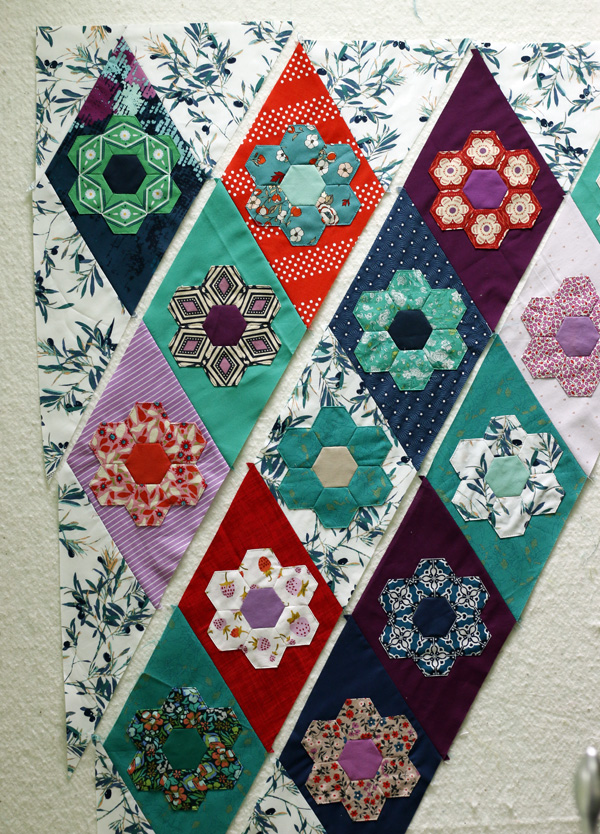
First, let's join full-sized, regular diamonds. Match two adjacent pieces so that they are right sides together. Keeping the raw edges matched, slide the pieces so that the pointy ends of the diamonds are sticking out a bit on both sides. How much should they stick out? Enough so that when you sew a true 1/4" seam allowance, your stitch line starts and stops at the little "v" as shown.


Below is a close-up of the proper stitch line and the alignment of the pieces. I like to think of the pieces a sliding glass doors. Shift and slide until they are arranged just so, all the while keeping long raw edges aligned. Your stitch line will start and stop at the point where raw edges create an open "v".

Be sure to sew a true 1/4" seam allowance, not a scant 1/4" seam allowance, when joining your full and partial diamonds into rows. Measure your seam allowance to check! This ensures you don't end up with dull diamond points at the edges.

Now open up your blocks and press seams open. If you've sewn your pieces properly, the raw edges will be continuous and straight, creating the beginnings of a row. Please press seams open and don't trim off dogears. They will be helpful placement guides when joining rows.
Joining Partial Diamonds
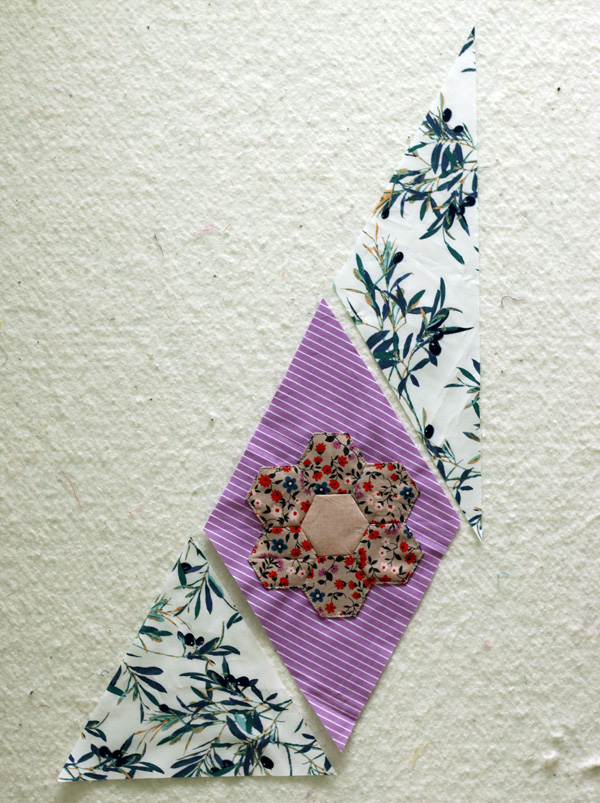
Partial diamonds are added at the beginning and end of each row. Here, I'm working with a single full-diamond row which becomes the bottom right corner of my quilt center. This row includes a fat triangle and a skinny triangle.
Let's start with joining the fat triangle. Place the diamond on the triangle, right sides together and aligning raw edges. Then, shift and slide the pieces so that the appropriate amount of triangle pointy bit is sticking out at the beginning of your future stitch line. Again, make sure that your true 1/4" seam allowance will start at the open "v" formed by the triangle pointy bit and the diamond.

Notice that this time the stitch line will not end in an open "v". This is the case when joining fat triangles to diamonds.
Also, notice that there is excess fat triangle fabric extending beyond my diamond's lower raw edge. To keep our cutting simple and our sewing forgiving, I slightly over-sized the fat triangles. You'll trim off excess fabric from the outside edges once the entire quilt center is pieced. For now, just be sure to orient your pieces so that the excess fabric goes to the outside of the row (i.e. the edges of the quilt center).
Next add the skinny triangle. Flip it right sides together with the diamond edge and align pieces so that the top pointy bit of the diamond creates an open "v" in combination with the skinny triangle. Your true 1/4" seam allowance should start exactly at the base of that "v". The stitch line will end when the skinny triangle extends beyond the diamond. Again the excess skinny triangle fabric must go to the outside edge of the quilt. With the skinny triangles most of that "excess" is actually going to be needed to maintain sharp diamond points at the sides of the quilt center.


Press seams open. The dogear of the skinny triangle is really quite large. Do trim it off to reduce bulk. Place your ruler in line with the diamond edge and trim to create a continuous, straight row edge (see below).
Most rows only need two partial diamonds to be complete. However, this single-diamond row also needs a corner triangle to bring it square.


Add the corner triangle as shown. It will seem like there is too much stitch line beyond the diamond at the skinny triangle area. However, when you press the corner triangle open, you will see that you have just enough fabric at the side to preserve a sharp diamond point.

Near the center of the quilt, you will have rows that start or end with a corner triangle. This is sewn pretty much just as above. Make sure you create a large dogear at the side of the quilt. That's where you need more fabric to protect those diamond points.
Joining Rows
Once you've joined all of your full diamonds and partial diamonds to create rows, finishing the quilt center is pretty straightforward. The only tricky part is aligning your rows so that diamond corners match. This is where those pressed open seams and dogears come in handy.

Match rows right sides together with raw edges aligned. Shift the rows so that the dogears are stacked. Place a pin in each dogear pair. Sometimes there will be some fullness in a diamond edge because we are working with exposed bias. The dogears help you match points and keep the fabric evenly distributed.

One by one, join rows with a 1/4" seam and press seams.

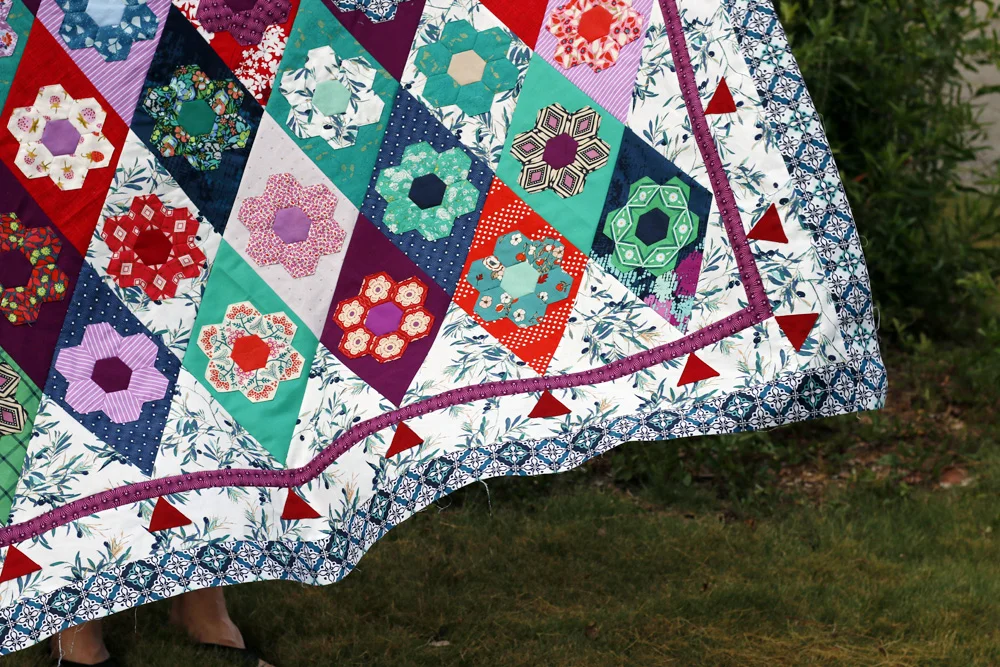
Trimming
After the diamonds are all pieced, you'll want to trim the edges to make them straight and tidy, while removing excess fabric. There are a number of ways to do this, but I prefer to use a long ruler and trim at 1/4" away from the diamond points. At the corners I use the lines on the ruler to make sure I am cutting a 90 degree angle.

Ta da! Celebrate your lovely quilt center!