Finish: Rainbow Picnic Sew-Along
With your patchwork top and backing ready, finishing this blanket is going to be nice and quick. Today we'll attach the blanket tie (optional) and assemble the layers.


Blanket Tie
If you'd like your blanket to roll up neatly, take 10 minutes to make this simple fabric tie from a fabric of your choice.
Cut a 4" width-of-fabric strip. Press the short ends under by 1/4". Fold and press the entire strip in half, wrong sides together, making the strip 2" wide. Open the strip and fold the raw edges so that they meet at the first fold line. Press. This tucks the raw edges inside the folded strip. Press again along the first fold line, making the strip 1" wide with raw edges encased. Secure the entire strip with an edge stitch, being sure to catch the short ends as well.


At one of the neat backing corners, measure and mark the backing at 4" from the top and 8.5" from the side. Pin the center of the blanket tie at this mark. The tie should extend up towards the top of the backing. Secure the tie to the backing with a square stitch: stitch about a 1" square on the tie, then stitch an "X" through the square for extra strength.
Assembly
Tape the backing to your floor, right side up. Don't worry if the backing is an irregular size, so long as it is larger than the patchwork top.
Place the patchwork on the backing, wrong side up. The layers should be right sides together. Align the patchwork to the backing corner with the blanket tie, so that a small amount of backing is showing and the patchwork is "straight" with the backing. Make sure the blanket tie is inside the backing/patchwork sandwich.
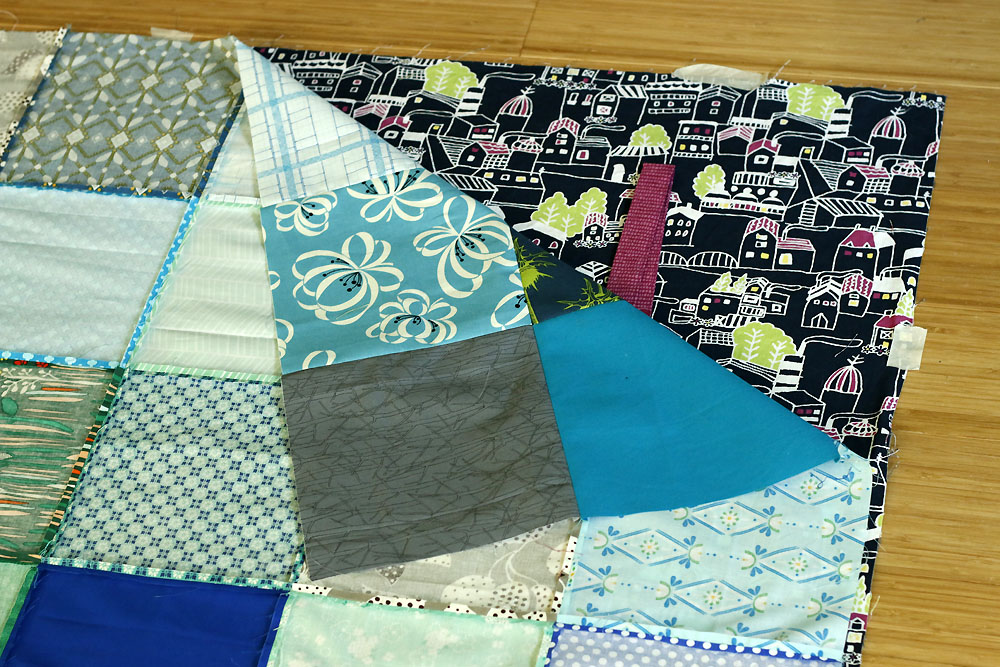
When the patchwork is lying flat and straight, pin it to the backing all around the patchwork raw edges. I pinned at each patchwork seam and in the center of each square. Backing should stick out beyond the patchwork on all sides.
Remove tape. Sew layers together with a 3/8" seam, leaving an opening for turning. Trim away excess backing. Trim seam allowance corners to reduce bulk.

Turn right side out. Press edges neatly, pressing seam allowance inside at opening and parallel with the finished edge. Pin to stabilize opening. Edge stitch around the entire blanket, closing opening at the same time.
Since our compact picnic blanket does not have batting, any quilting or hand tying of the finished blanket is simply to reinforce the patchwork. I chose to machine zigzag stitch this blanket, but many picnic blankets I've hand tied.
Hand Tie: With chunky thread or thin yarn, make ties at every square intersection or every-other intersection. Cut one long length of thread about twice as long as your arm. Do not knot the end. Make a stitch at a tie point. Pull thread until about 3" of thread tail remains. Make a stitch in the next tie point, without cutting thread (your points are connected by a length of thread). Continue making stitches in tie points until your thread runs out. Cut between tie points to release thread. Double knot each tie point close to the blanket top. Trim thread ends to about 1/2" from knot.

Zizgag Quilt: For a faster and very durable finish, machine zigzag quilt over all patchwork seam lines. Make long, straight quilting paths that start and end at the blanket's edge stitch. Start and finish your zigzag quilting paths with a backstitch or lock stitch. Don't worry that it shows! This is a picnic blanket, not an heirloom quilt. No one but a quilter would know the difference.

All done!
I'm perfectly delighted by how this turned out. The prints are amusing to explore up close, and from afar the color progression makes quite an impact!

We don't really need a new picnic blanket, so I'm going to have to pass this one along to another family via my Handmades shop. Oooh, it's going to be hard to ship this off! I shall console myself with the knowledge that its new home will likely include a fellow fabric-lover who will appreciate this rainbow as much as I do!

To roll your picnic blanket, fold in half and then in half again, keeping the blanket tie exposed. Roll towards the blanket tie, wrap tie around quilt and tie. Ta da!
Thanks for sewing along with me, friends. I hope your new blankets are making you smile! You can add your Rainbow Picnic Sew-Along pictures to the link up now through the last of July.


