Zigzag Binding Tutorial
And long last, I have found a method of binding my quilts that is fast, secure and beautiful when viewed from the front and back. Dare I say, "Easy"? Yes, I dare! In fact, that was really the point. I hope you'll find this method easy too!!!
We're going to start from the beginning folks. If you're new to quilting, you can totally do this. In fact, this is the most user-friendly way to bind a quilt, in my opinion. Let's go!
Step 1: Cut Binding
Begin by cutting 2.5" strips, making each strip as long as possible. Since quilt edges are straight, not curvy, there is no reason to cut your binding strips on the bias. Take it easy and cut your fabric on grain, like you would when normally cutting any fabric. For a refresher on how to cut long strips of fabric, see this step in the Colorbrick Quilt-Along.

How much to cut? You need enough to go all the way around your quilt and then have about 15 inches extra. Rather than measuring my strips, I just lay them around the quilt as I cut them, keeping in mind that a fair bit will get eaten up in seam allowances when we piece the strips. Extra quilt binding can always be saved for a scrappy binding someday.
Step 2: Piece Strips
To join the binding strips, take two strips and lay them right sides together. To create a diagonal seam that is less bulky than a straight seam, you must lay them perpendicular to each other, like so.

Make a pencil mark with a ruler from one edge to the other, as shown. Use a straight pin to stabilize things. Then, stitch along the line. You don't need to backstitch when you're piecing the strips. To save time, I like to chain piece, where I keep sewing without stopping through all the lines. After I pass all the binding pieces through the machine, I clip threads to separate. See here for step-by-step pictures of chain piecing.

Now, trim off the excess, so that you have a 1/4" seam and press open. Voila - lovely diagonal seams!

Step 3: Fold & Press
Oh, this is easy! Now, fold and press your entire strip of binding in half, longways. Take care to match the raw edges evenly so that your binding is a consistent width. You're ready to apply it to your quilt!

Step 4: Sew to Quilt Top
Make sure you're using a walking foot on your sewing machine! On this step take care to go slowly and make it really straight! Take a backstitch to secure your stitching every time you start and stop.

On the right side of your quilt, align the raw edges of your binding with the raw edges of the quilt. When you begin sewing, leave a 5-7" tail of unsewn binding. Don't start attaching your binding right at a corner - start on an edge. Carefully align the edges of the binding and quilt, sewing with a straight stitch at 3/8" from the raw edge. I use my "needle left" needle position to make sewing a 3/8" seam easy peasy. You could sew at 1/4" instead, but you'll have a little too much binding extending past the zigzag stitch on the back for my taste. I like a slightly wider binding than some, which is why I sew at 3/8" inch from the edge.

I started in the center of this side of my quilted runner and ended at this corner. Stop sewing at 3/8" from the corner. Remember to backstitch to secure that stitch line! Remove quilt from sewing machine and trim thread tails.

When you finish one edge and get to the corner, you need to fold the binding a special way to create a mitered corner. First fold the binding away from the quilt, until it looks like an extension of the next edge going out towards the table. You'll have made a little 45 degree fold in the binding.

Holding the 45 degree fold in place with one hand, fold the binding over to rest on the next edge of the quilt. Place a pin to hold that fold in place.

Start sewing again on the new edge, starting at 3/8" from the corner. Continue sewing the binding all the way around the quilt, mitering each corner. When you get back to the edge you started on, leave a 12" gap of the quilt unpinned.
To join the two ends of your binding, you'll make a diagonal seam like those you made when piecing the binding strips. First, trim your binding so that you have just 2.5" of overlap. Make sure that this overlapped part is in the center of your unsewn gap. That will make things easier to maneuver.

Lay the binding with right sides together and perpendicular to each other. Pin. Draw your diagonal line and stitch along the line. Now test to make sure that the joined binding fits along the quilt edge. When it does, trim the excess binding off (the triangle part past the diagonal stitch line) to leave a 1/4" seam allowance and press seam open.

Pin and finish attaching binding to your quilt top with a 3/8" seam.

Step 5: Pin to Quilt Back
Lay your quilt on the ironing board with the quilt back facing up. Wrap the folded edge of your quilt binding around from the quilt top to the quilt back. Press it nicely and then pin to secure. It's more effective to pin longways through the binding, but make sure that the pin heads will be pointing towards you when you sew the binding on from the quilt top. You'll want to be able to remove the pins by grabbing the round head easily!

Take care to fold neatly, with even tension so that the binding is straight, not wavy on the back. Your binding should fall just past the stitch line you made with you attached the binding to the front of the quilt in the previous step. At the corners, you'll overlap the folds to make a mitered edge.

Step 6: Zigzag Stitch to Finish!
Now this is the fun part! Flip the quilt over, because your’e going to be sewing from the right side of the quilt - the quilt top.
Again, be sure to use a walking foot and a choose a thread that you'll be glad to have show. You can choose to use a wide or narrow zigzag stitch, keeping in mind that a wider stitch will look more "even", while a narrow stitch will not hide mistakes. I use a medium-width stitch that is suggested for the zigzag stitch by my sewing machine manual. Even though it will show slightly, do start and stop all stitching with backstitches to secure those threads.
Begin stitching anywhere you like from the quilt top. Center your zigzag stitch over the seam where the binding meets the quilt top.

When you reach the corner, stop with the needle in the down position on the right side of a zigzag stitch. Lift your presser foot and turn the quilt to continue stitching uninterruptedly.

Pretty soon you'll be all done - and faster than ever before I hope! What I like most about this method is that my zigzags look as even on the front as on the back. See! And, I personally like the character of the zigzag stitch. It's very "me". If zigzags aren't your favorite, you might try another decorative stitch on your sewing machine that is fairly wide. It could have the same user-friendly effect.
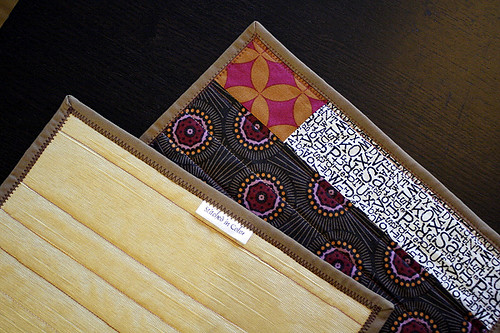
Would you like to see my finished project?
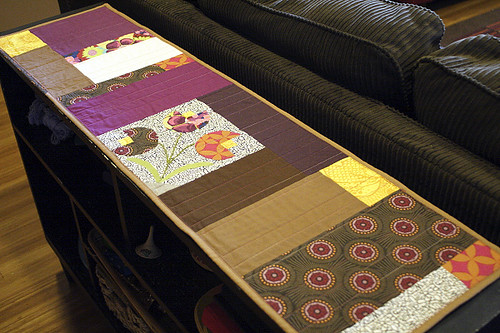
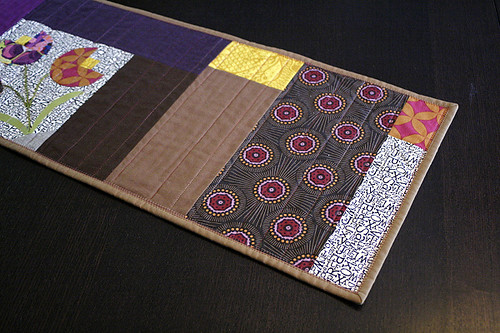
This a table runner (my first!) for a side table/toy shelf that lives behind our sofa. I featured that snowdrop block and worked in solid Kona cotton scraps to match my new living room curtains.
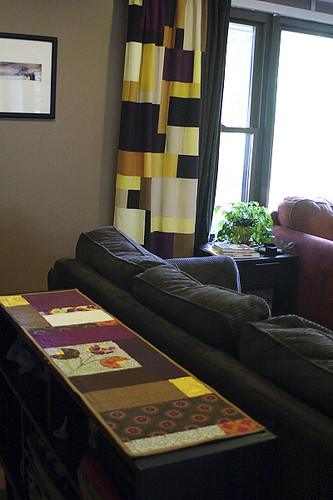
The kittens discovered it as a new soft spot to nap lickety split. But, they didn't stay there for long...
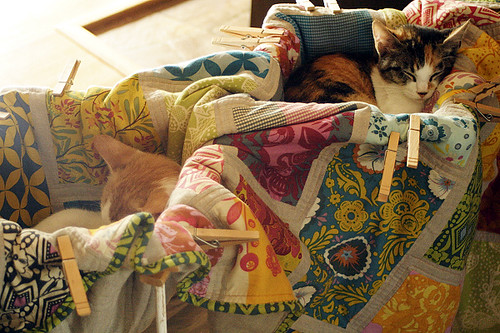
Aria and Liam built them a kitty hammock with my Colorbrick quilt and collapsible clothing drying rack. Yep, never a dull moment around here.
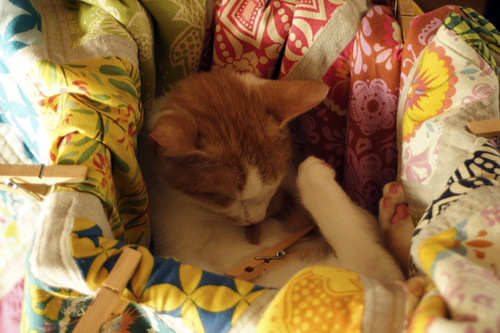
And never a shortage of Cuteness!!!
If you happen to like my Zigzag Binding tutorial and actually give it a whirl, I'd love to see your project pop up on Instagram with #StitchedinColor. It makes my day to see someone actually learning to quilt, or trying out one of my tutorials. Thank-you for visiting and for being a part of this community!
