a Serger Cover
Hope you had a wonderful weekend, friends! Wow, it's been a week since Mother's Day. How about I show you that serger sewing machine cover I made for my mother-in-law?
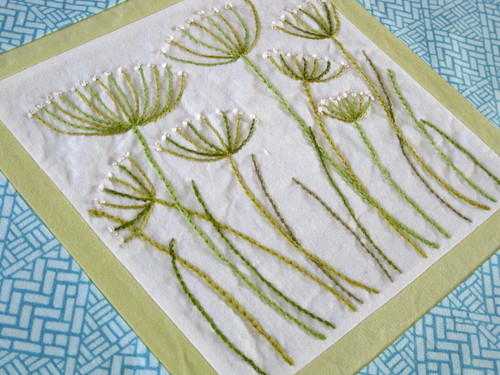
I started this project with a pretty stack of Central Park in colors requested by my mother-in-law and this piece of embroidery from The New Crewel. Without much of a plan, I stitched up some blocks...

A carefree approach was fun, but before long things were looking a bit miss-mashed. All these springy tones can overwhelm me, so some order was in order. I created the remaining blocks in mirrored dimensions to the first.

For example, this block has the same layout (large central square, thin green sashing, wide brick-print sashing) as the main embroidered block. I placed the echo blocks on opposite sides of the serger cover. Maybe no one would notice but me...

The serger cover was to be shaped like a cube, so here's my approach to construction. I created 5 equal-sized blocks. Next, I connected 3 blocks into one long strip. The middle block in this strip becomes the top block on the cover. The 2 remaining loose blocks are sides to the cover. I stitched the long strip to a side block with right sides together, carefully pivoting on each corner and matching up the strip to the new straight edge of the block as I stitched around 3 sides of the block.
Now that I know how to make 3-dimensional items, it seems so obvious to me. But, before making those bike buckets, I was very unsure. I've never had strong skills for mentally manipulating shapes!

Here is the finished cover! I gave the outer layer lots of straight line quilting to stiffen it up and added a solid green trim along the bottom edge.
Once I'd made my outer cube and inner lining cube, I stitched them together along the bottom edge with right sides together and left an opening for turning. I love turning things like this right side out! It's so fun to see it come together! Closed up the opening and quilted along the solid green edging through all layers to finish.

Since both layers are quilted, this cover is 2-battings thick. A nice thick cover is great at holding its shape when sitting on the machine.

So here it is! I really like how the square-in-square block looks on top. And it may sound silly, but I was very proud to give it to my mother-in-law. She's such a generous person and she's been sewing forever, so it was a pleasure to make something just for her. She really gets a kick out of my passion for sewing since I only picked it up two years ago. I think she's impressed with me, but I'm totally impressed with her. Yeah, we're lucky.

My lamp looks darn silly in Central Park. Fortunately, the colors really suit her craft room. So, should we be making patchwork lampshades? Actually, that could be very cute!
I can hear Brandon now...
I started this project with a pretty stack of Central Park in colors requested by my mother-in-law and this piece of embroidery from The New Crewel. Without much of a plan, I stitched up some blocks...
A carefree approach was fun, but before long things were looking a bit miss-mashed. All these springy tones can overwhelm me, so some order was in order. I created the remaining blocks in mirrored dimensions to the first.
For example, this block has the same layout (large central square, thin green sashing, wide brick-print sashing) as the main embroidered block. I placed the echo blocks on opposite sides of the serger cover. Maybe no one would notice but me...
The serger cover was to be shaped like a cube, so here's my approach to construction. I created 5 equal-sized blocks. Next, I connected 3 blocks into one long strip. The middle block in this strip becomes the top block on the cover. The 2 remaining loose blocks are sides to the cover. I stitched the long strip to a side block with right sides together, carefully pivoting on each corner and matching up the strip to the new straight edge of the block as I stitched around 3 sides of the block.
Now that I know how to make 3-dimensional items, it seems so obvious to me. But, before making those bike buckets, I was very unsure. I've never had strong skills for mentally manipulating shapes!
Here is the finished cover! I gave the outer layer lots of straight line quilting to stiffen it up and added a solid green trim along the bottom edge.
Once I'd made my outer cube and inner lining cube, I stitched them together along the bottom edge with right sides together and left an opening for turning. I love turning things like this right side out! It's so fun to see it come together! Closed up the opening and quilted along the solid green edging through all layers to finish.
Since both layers are quilted, this cover is 2-battings thick. A nice thick cover is great at holding its shape when sitting on the machine.
So here it is! I really like how the square-in-square block looks on top. And it may sound silly, but I was very proud to give it to my mother-in-law. She's such a generous person and she's been sewing forever, so it was a pleasure to make something just for her. She really gets a kick out of my passion for sewing since I only picked it up two years ago. I think she's impressed with me, but I'm totally impressed with her. Yeah, we're lucky.
My lamp looks darn silly in Central Park. Fortunately, the colors really suit her craft room. So, should we be making patchwork lampshades? Actually, that could be very cute!
I can hear Brandon now...
